
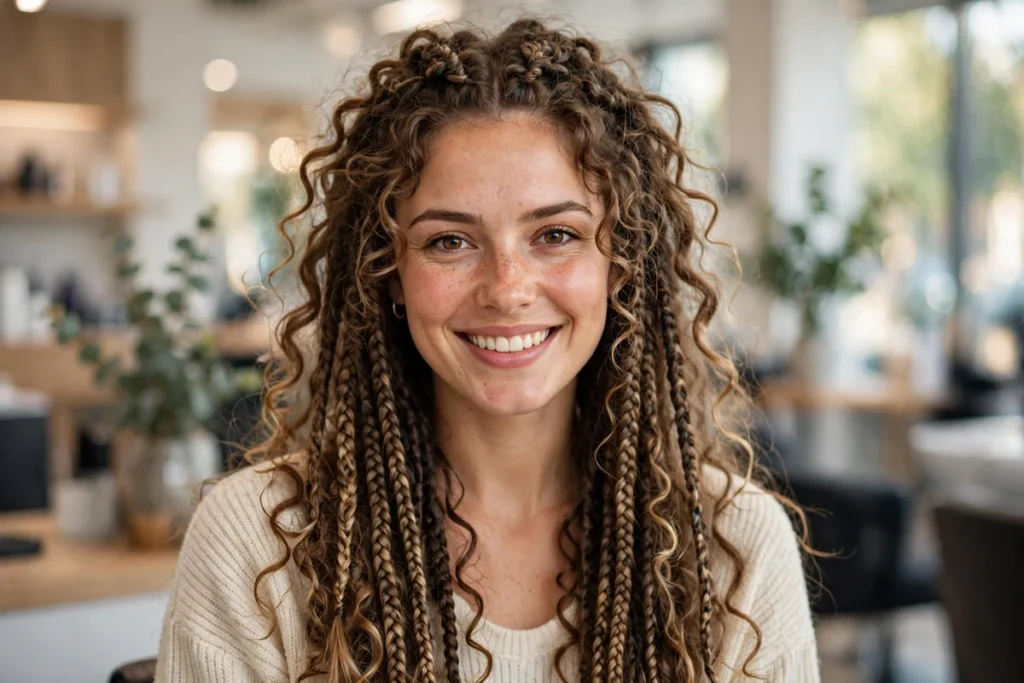
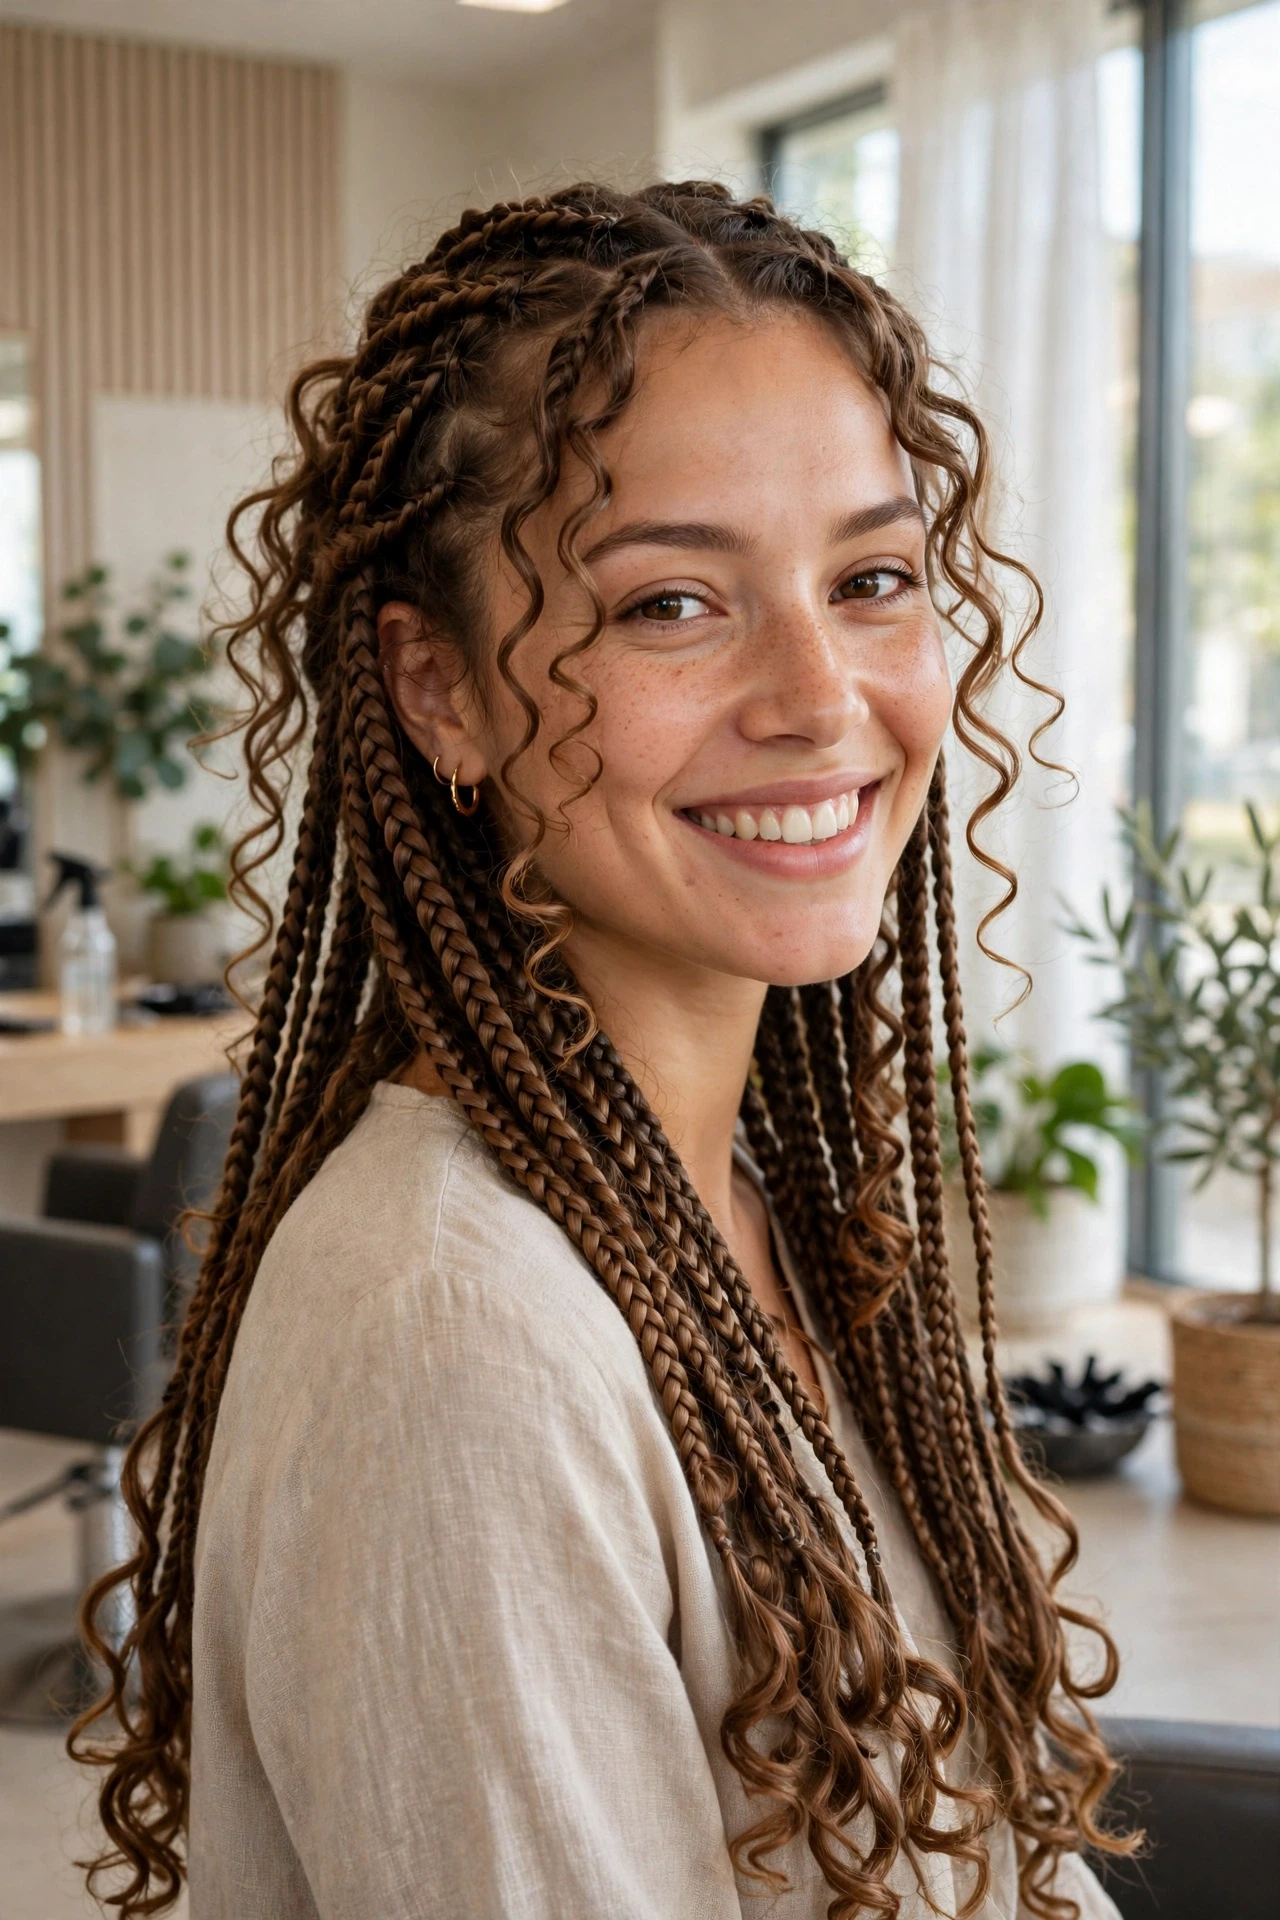
If you have ever admired those soft, loose braids with wispy curls peeking out and wondered how to do boho braids at home, this guide is for you. Boho braids mix neat, classic braiding with free, curly pieces left out along the way, and the result looks relaxed, romantic, and full of movement. Best of all, you can create it yourself with patience and the right supplies.
Boho braids are loved because they look relaxed, not stiff. The curly pieces soften the whole style, so it works for a holiday, a wedding guest look, or an everyday refresh. For extra inspiration, take a peek at the braid ideas on Byrdie, then work through the steps at your own pace.
You do not need to be a professional braider to get a pretty result. With a little patience, a good comb, and the right hair, you can build this look section by section. Take breaks when you need them, keep your parts neat, and remember that a few loose curls are part of the charm, not a mistake.
- Prep matters most: clean, stretched, moisturized hair braids faster and lasts longer.
- Leave curly pieces out along each braid for that soft, airy boho finish.
- Feed in small amounts of hair at a time so your braids stay smooth and even.
- Seal the ends in hot water, then add mousse for hold without stiffness.
- Night care and gentle removal protect your hair and help the style last for weeks.
What You Will Need
Gather everything before you start, so you are not hunting for a comb halfway through a braid.
- Braiding hair, 3 to 4 packs, in a shade close to your own hair
- Curly braiding hair or loose wave bundles for the boho pieces
- Rat tail comb for neat parts and smoothing edges
- Hair clips to hold sections out of the way
- Small elastic bands or thread for securing ends
- Leave-in conditioner and a light oil for moisture and shine
- Mousse for hold and definition after sealing
- Scissors for trimming flyaways and stray curls
- Bowl of hot water and a towel for sealing the ends
- Edge control and a soft brush for baby hairs
How to Do Boho Braids in 20 Steps
Prep Your Hair
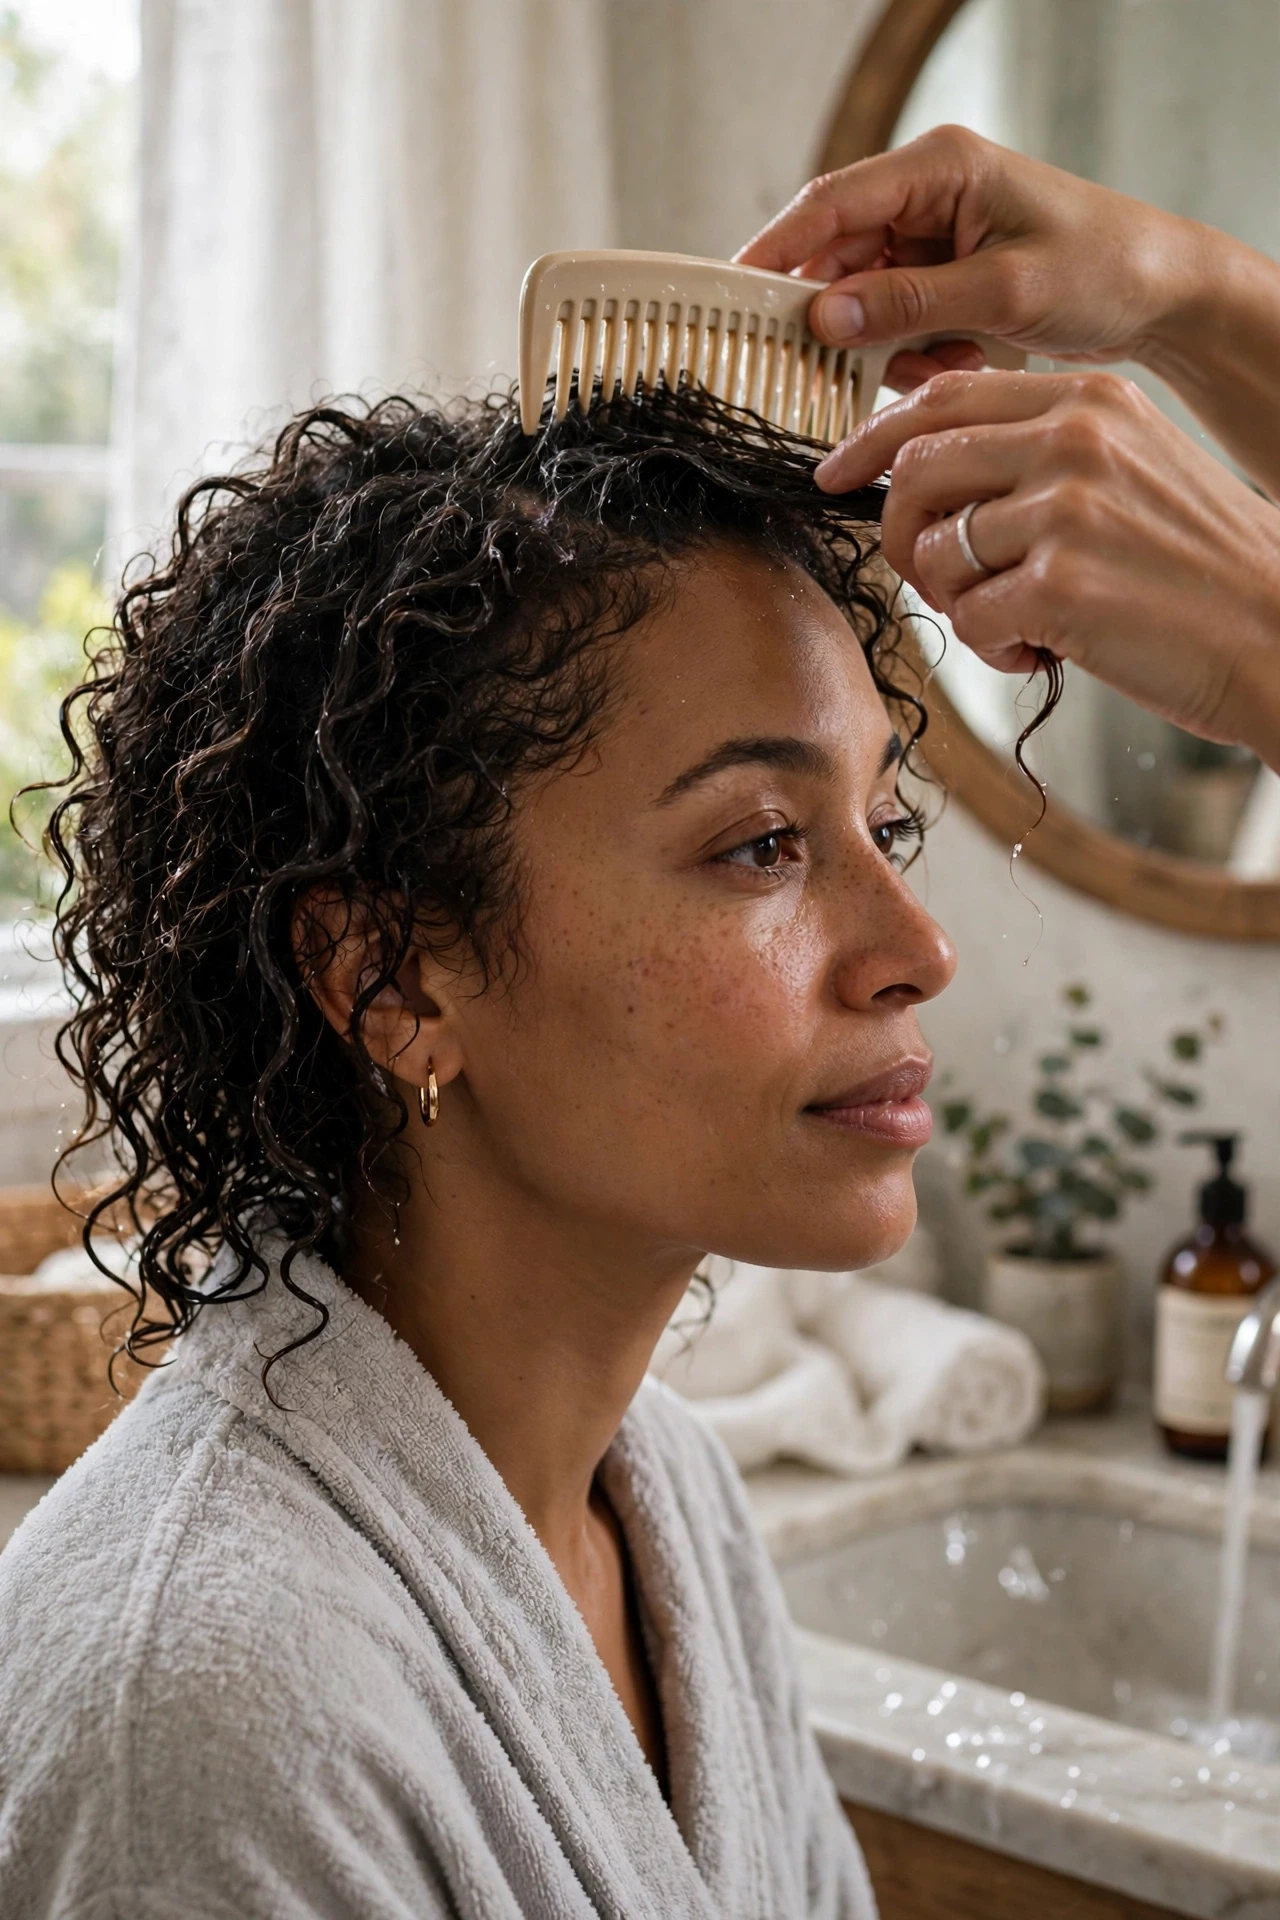
Start with freshly washed hair, then apply a light leave-in conditioner and a little oil so your strands feel soft but not slippery. Blow dry or stretch your hair on a low heat setting, because stretched hair is much easier to part and braid neatly. Work through any tangles with a wide tooth comb first, then finish with the rat tail comb. Good prep saves time later, and it helps your braids look smooth from the roots to the ends.
Choose Your Braiding Hair
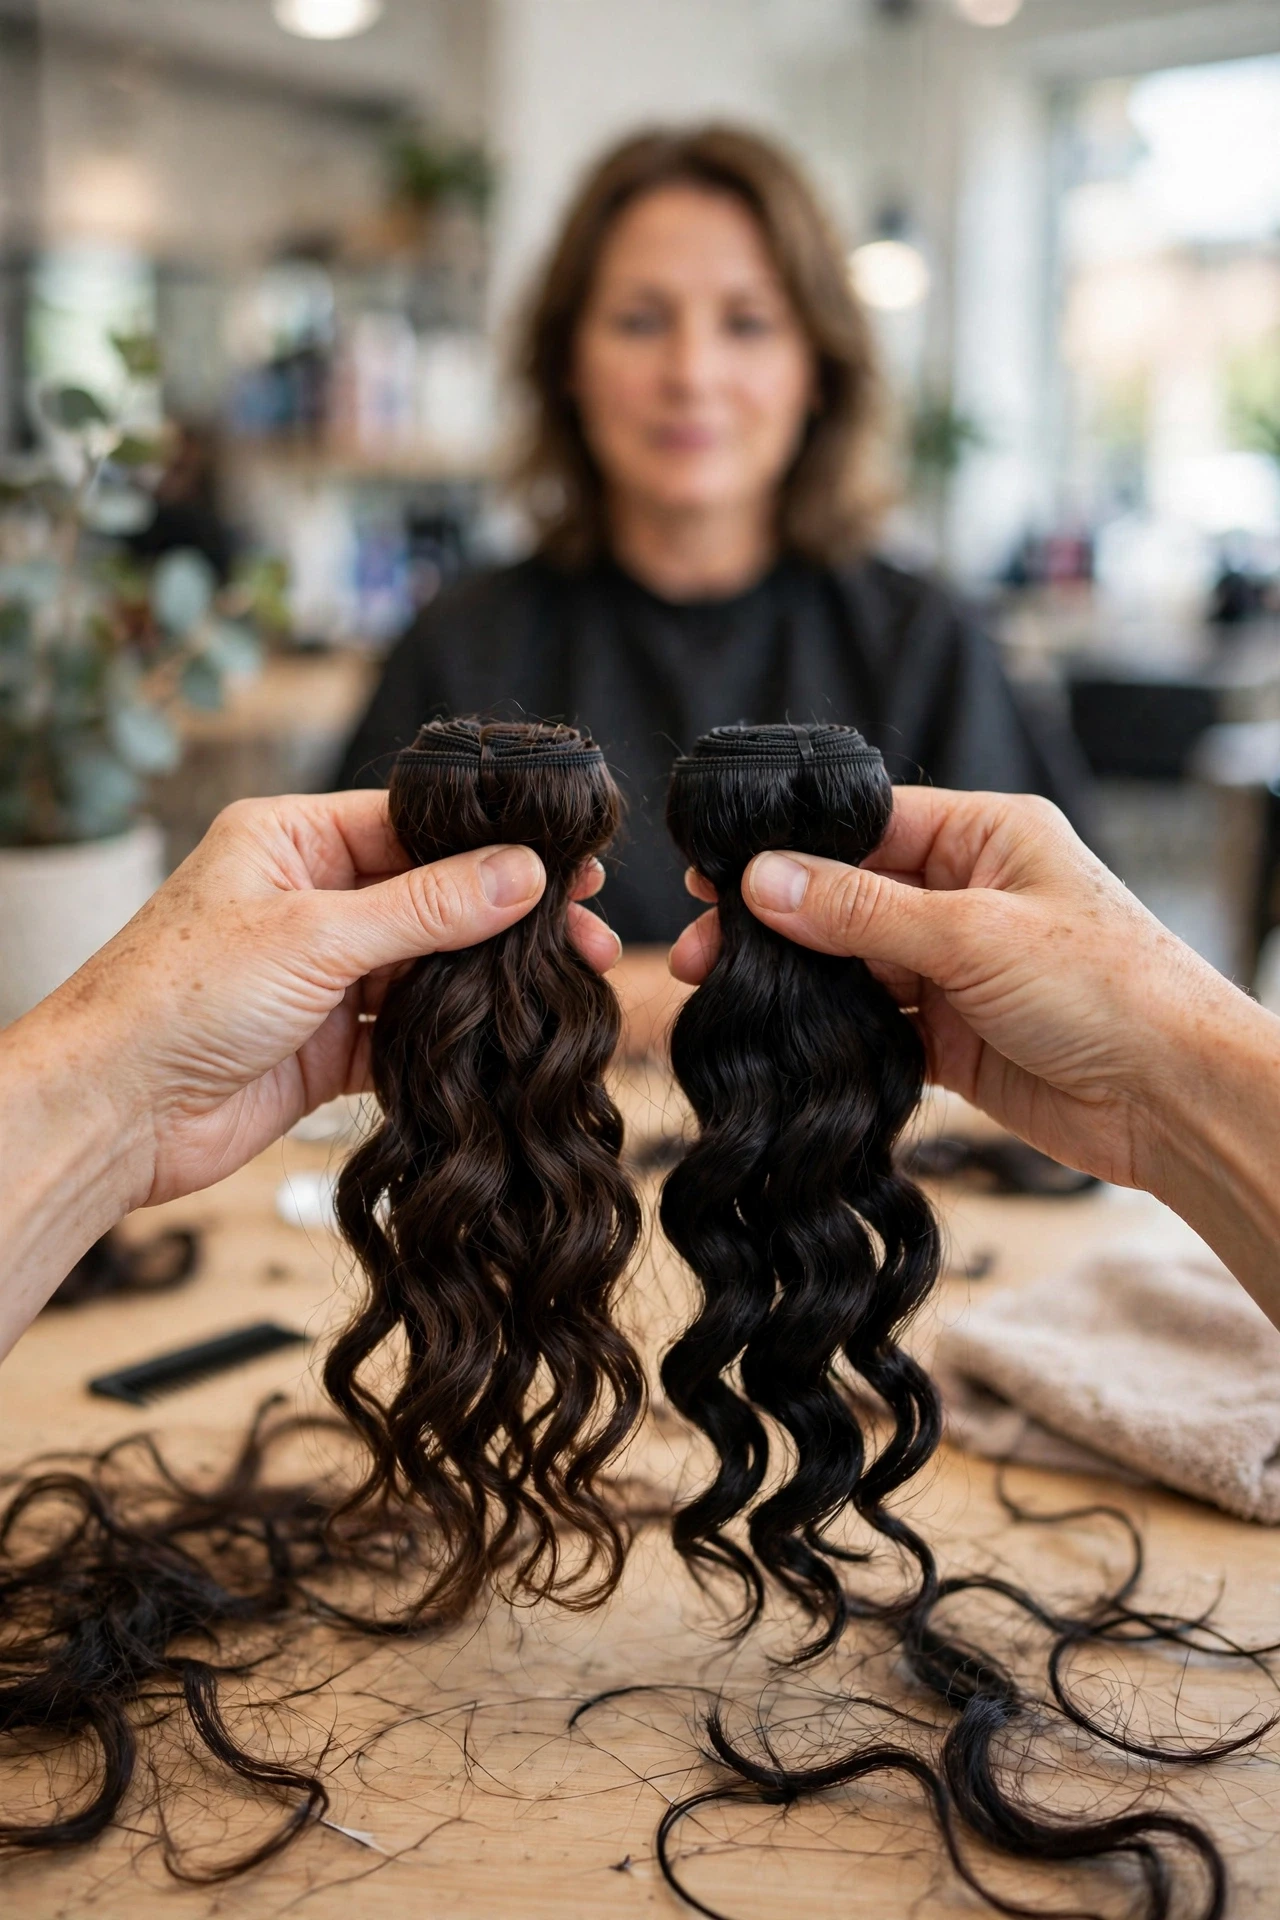
Pick braiding hair that matches your natural color as closely as possible, or go one shade lighter if you want a sun-kissed effect. You will also need curly hair for the boho pieces, and it helps if the curl pattern is loose and soft rather than tight and springy. Hold a small section against your own hair in daylight before you open every pack. When the colors blend well, the braids look natural, and the curls stand out in just the right way.
Part Your Hair into Sections

Use the tail of your comb to create a clean center or side part, then divide the back of your hair into neat rows. Clip each row up as you go, so only the section you are working on stays loose. Smaller sections give smaller, neater braids, while larger sections give a chunkier look and a faster finish. Try to keep your parts straight, but do not stress over perfection, because the curls will soften any small wobbles later.
Braid the First Section
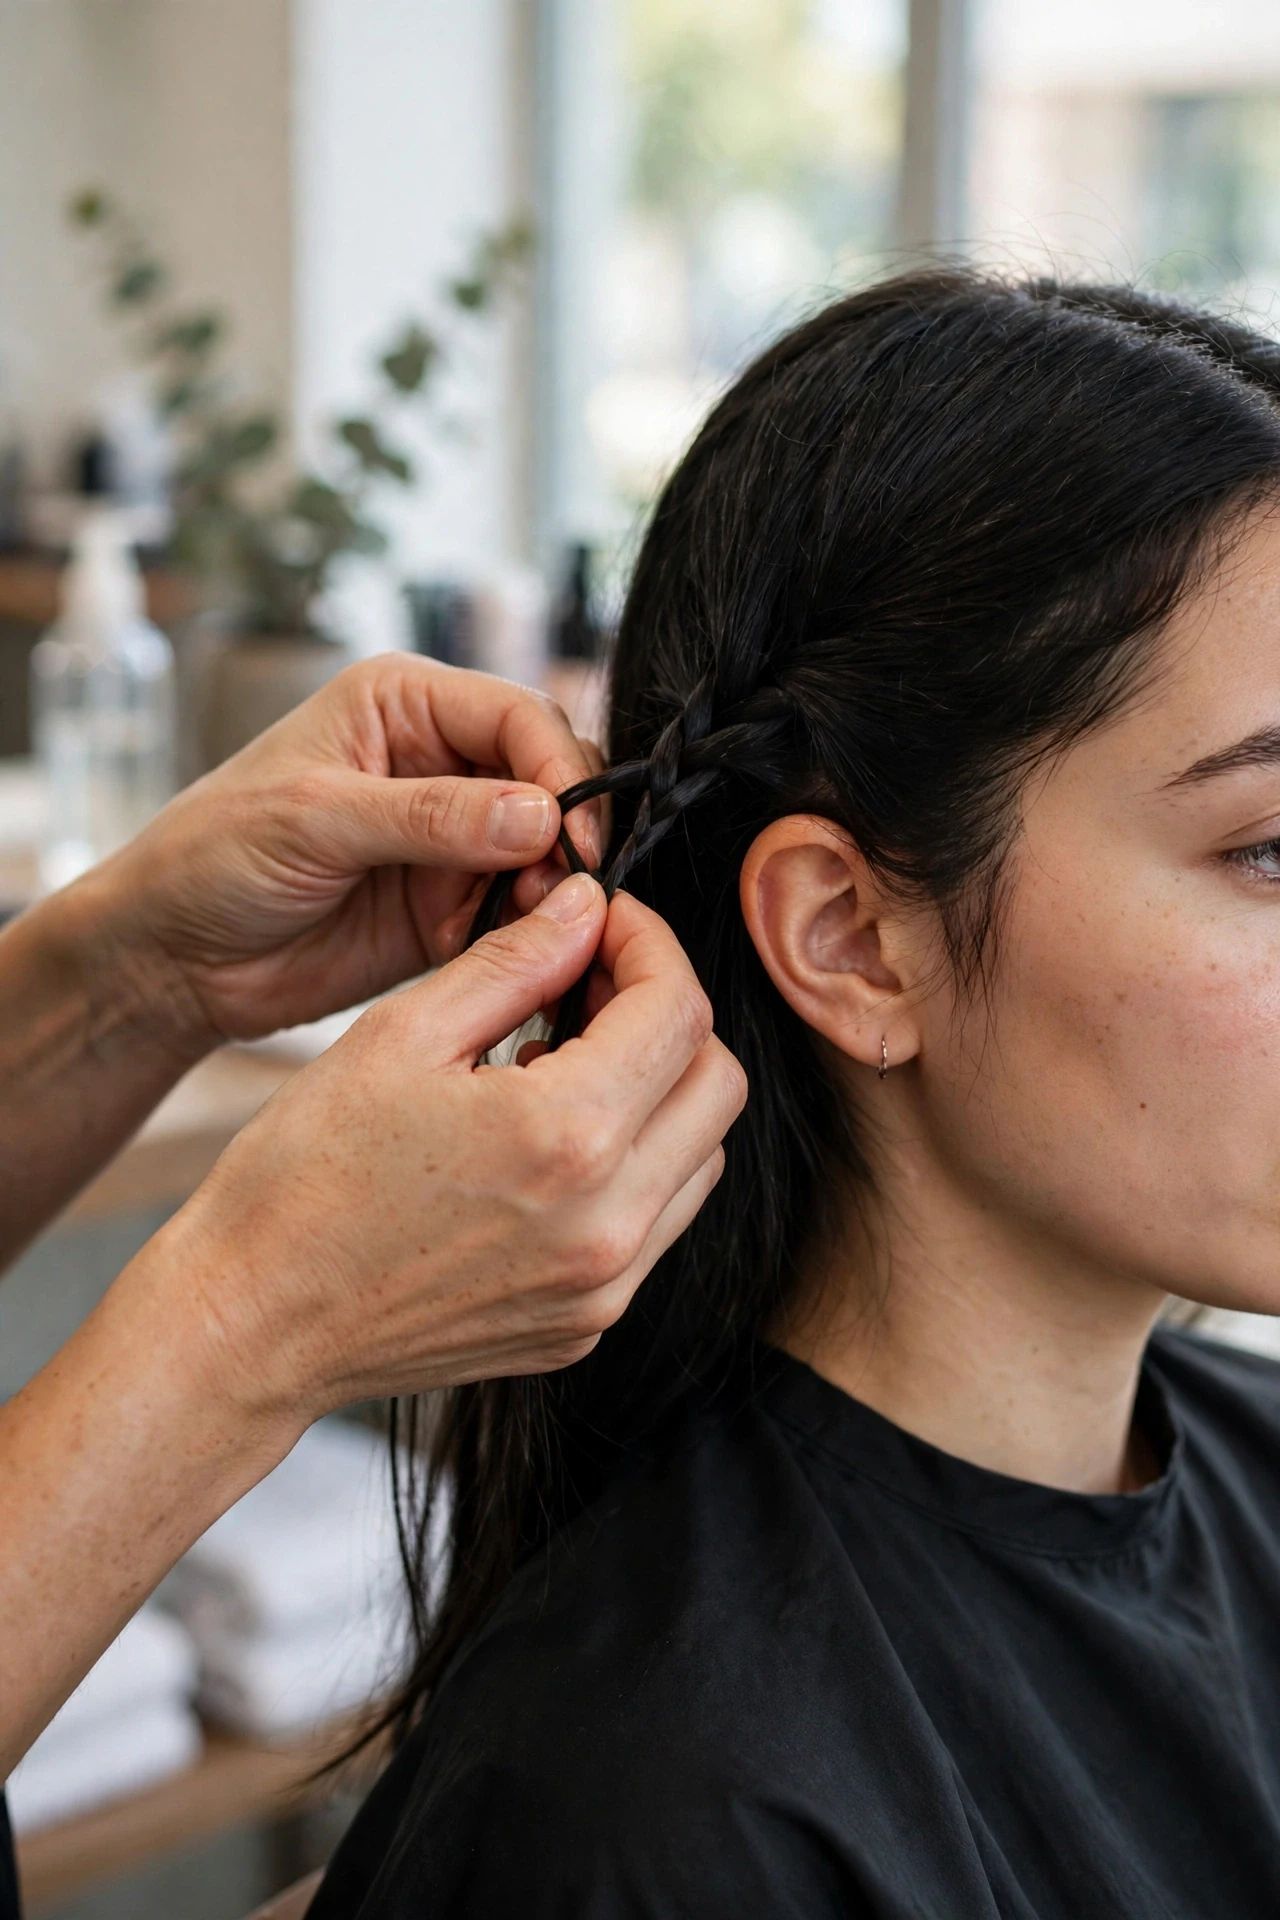
Take the first section at the nape, divide it into three equal strands, and braid down with steady, even tension. Keep your hands close to the scalp at the start, then relax the tension slightly as you move down the length. This balance keeps the braid secure without pulling or causing bumps. If you want a reminder of the finished look, peek at these classic boho braids for inspiration, then return to your braid and keep going to the ends.
Add the Curly Pieces

Here is where the boho magic begins. As you braid, leave out a few thin curly strands at regular intervals, letting them fall free beside the braid instead of tucking them in. Alternate sides as you go, so the curls frame the braid evenly and do not all bunch on one side. Use less curly hair near the scalp and more toward the ends, where softness shows most. Step back now and then to check that the curls look balanced.
Feed In the Braid
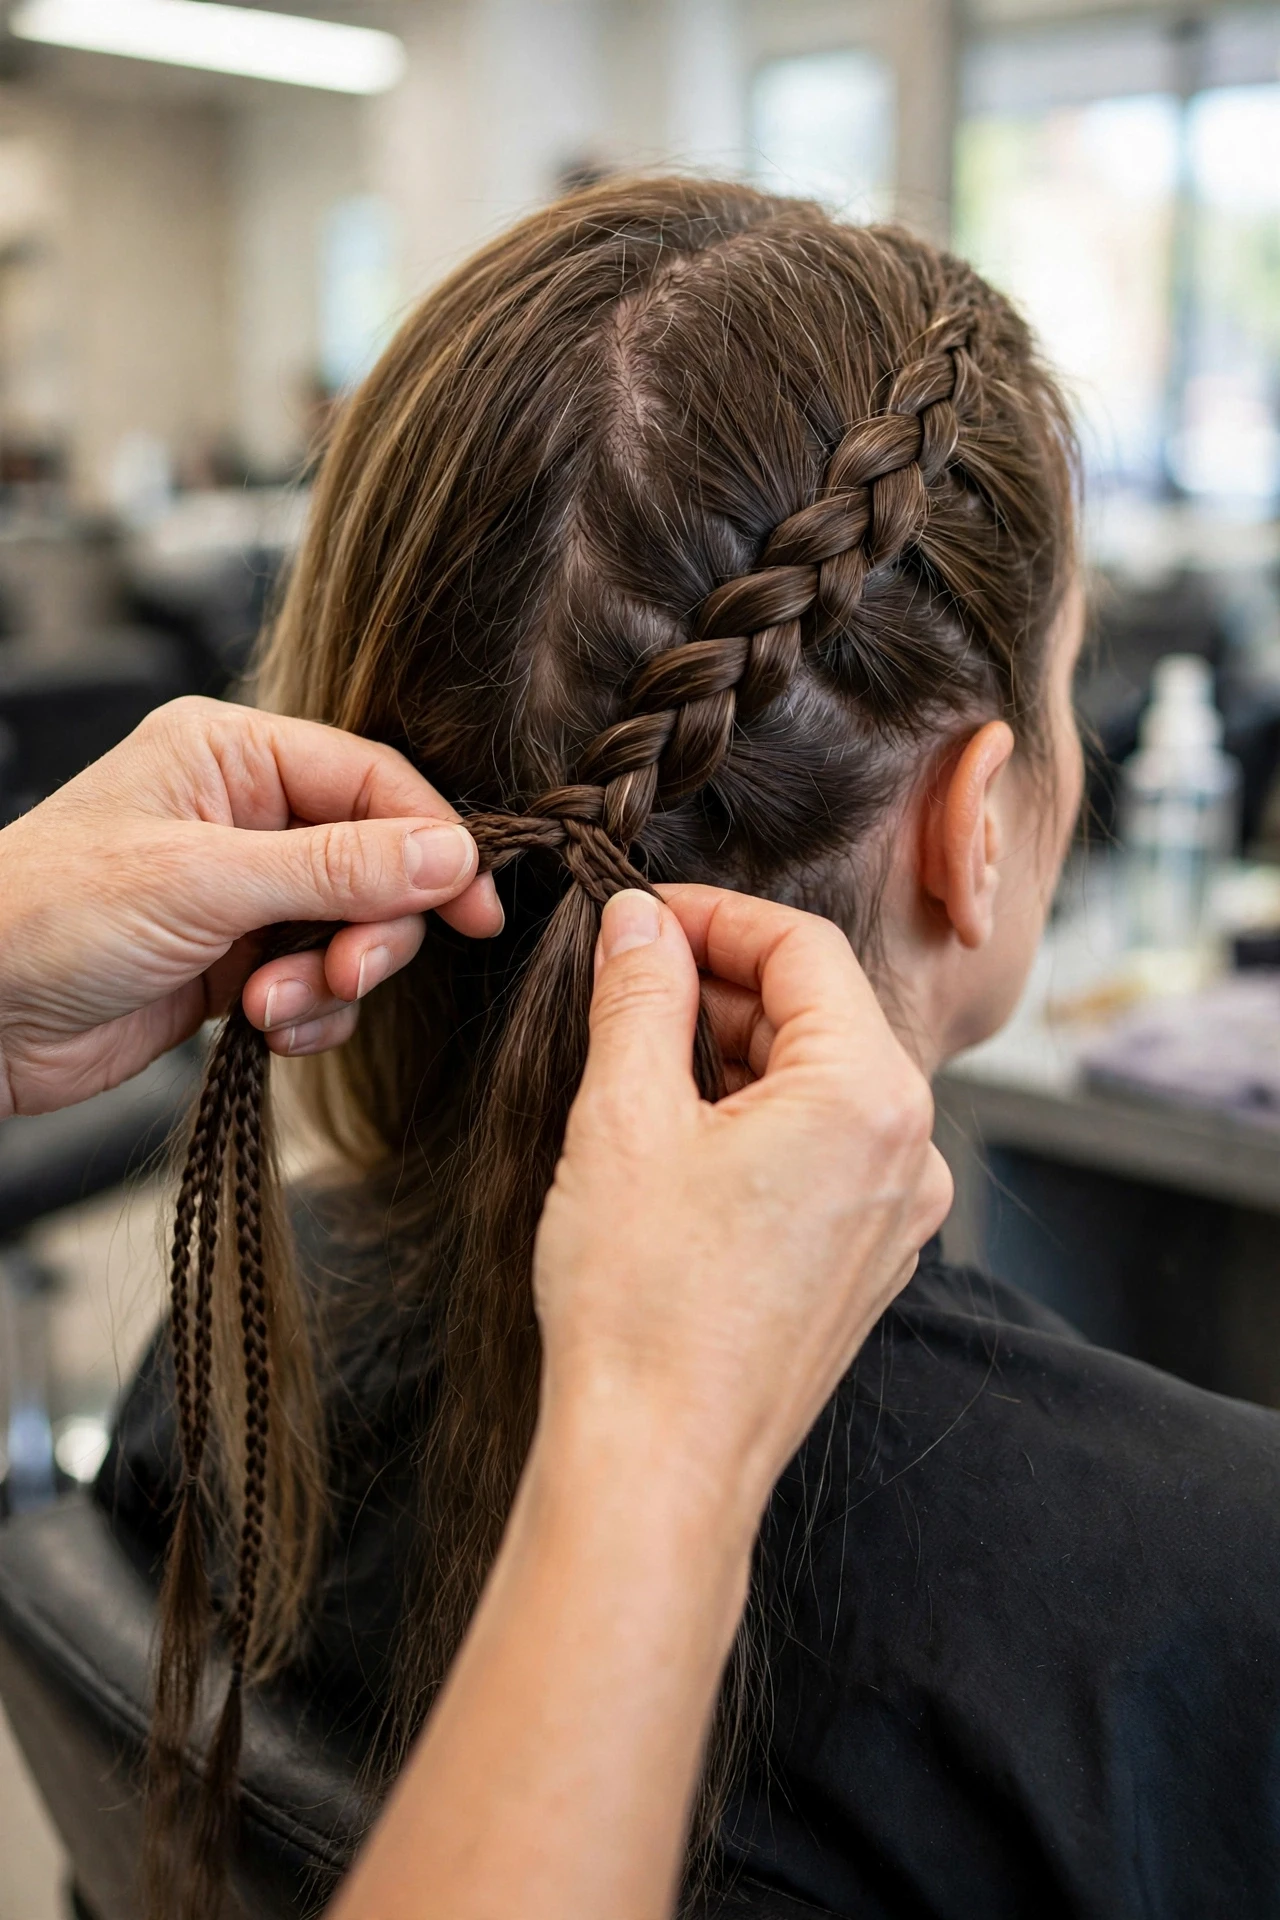
To feed in hair, add a small piece of braiding hair to one of your three strands every few stitches, keeping each addition thin and even. Smooth the new hair into the braid before you cross it over, so you do not get lumps or loose loops. If you prefer a gentler start at the roots, the knotless version uses the same feed-in idea with less tension at the scalp. Take your time here, because neat feeding is what makes the whole style look polished.
Secure the Braid Ends
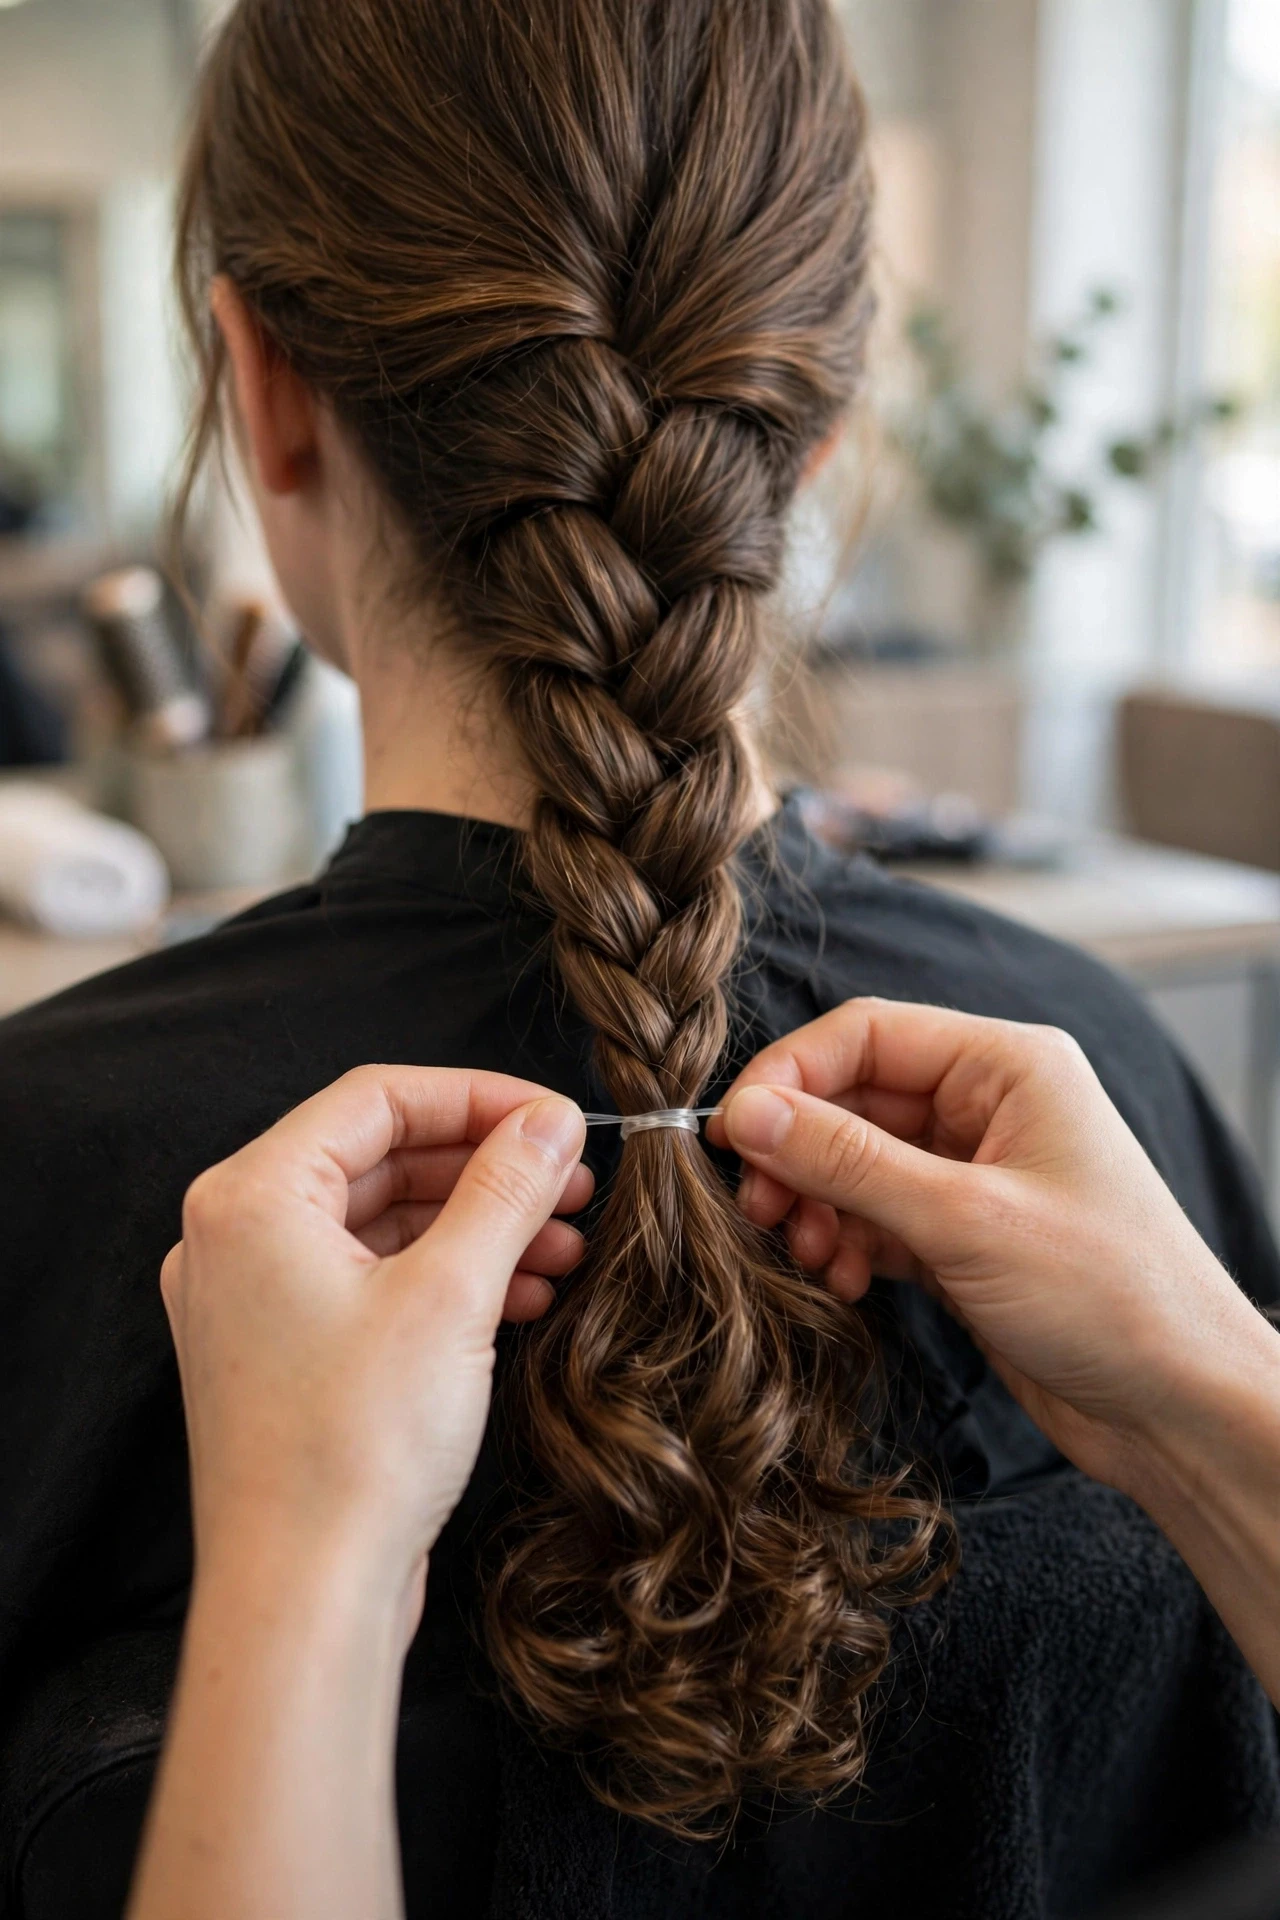
When you reach the end of a braid, hold it firmly and wrap a small elastic band around the tip two or three times. The band should feel snug, not tight enough to dent the hair, and you can add a tiny knot of braiding hair over it if you want extra security. Leave a short tail of curly hair free past the band for a softer finish. Give the braid a gentle tug to check it.
Repeat Across the Back
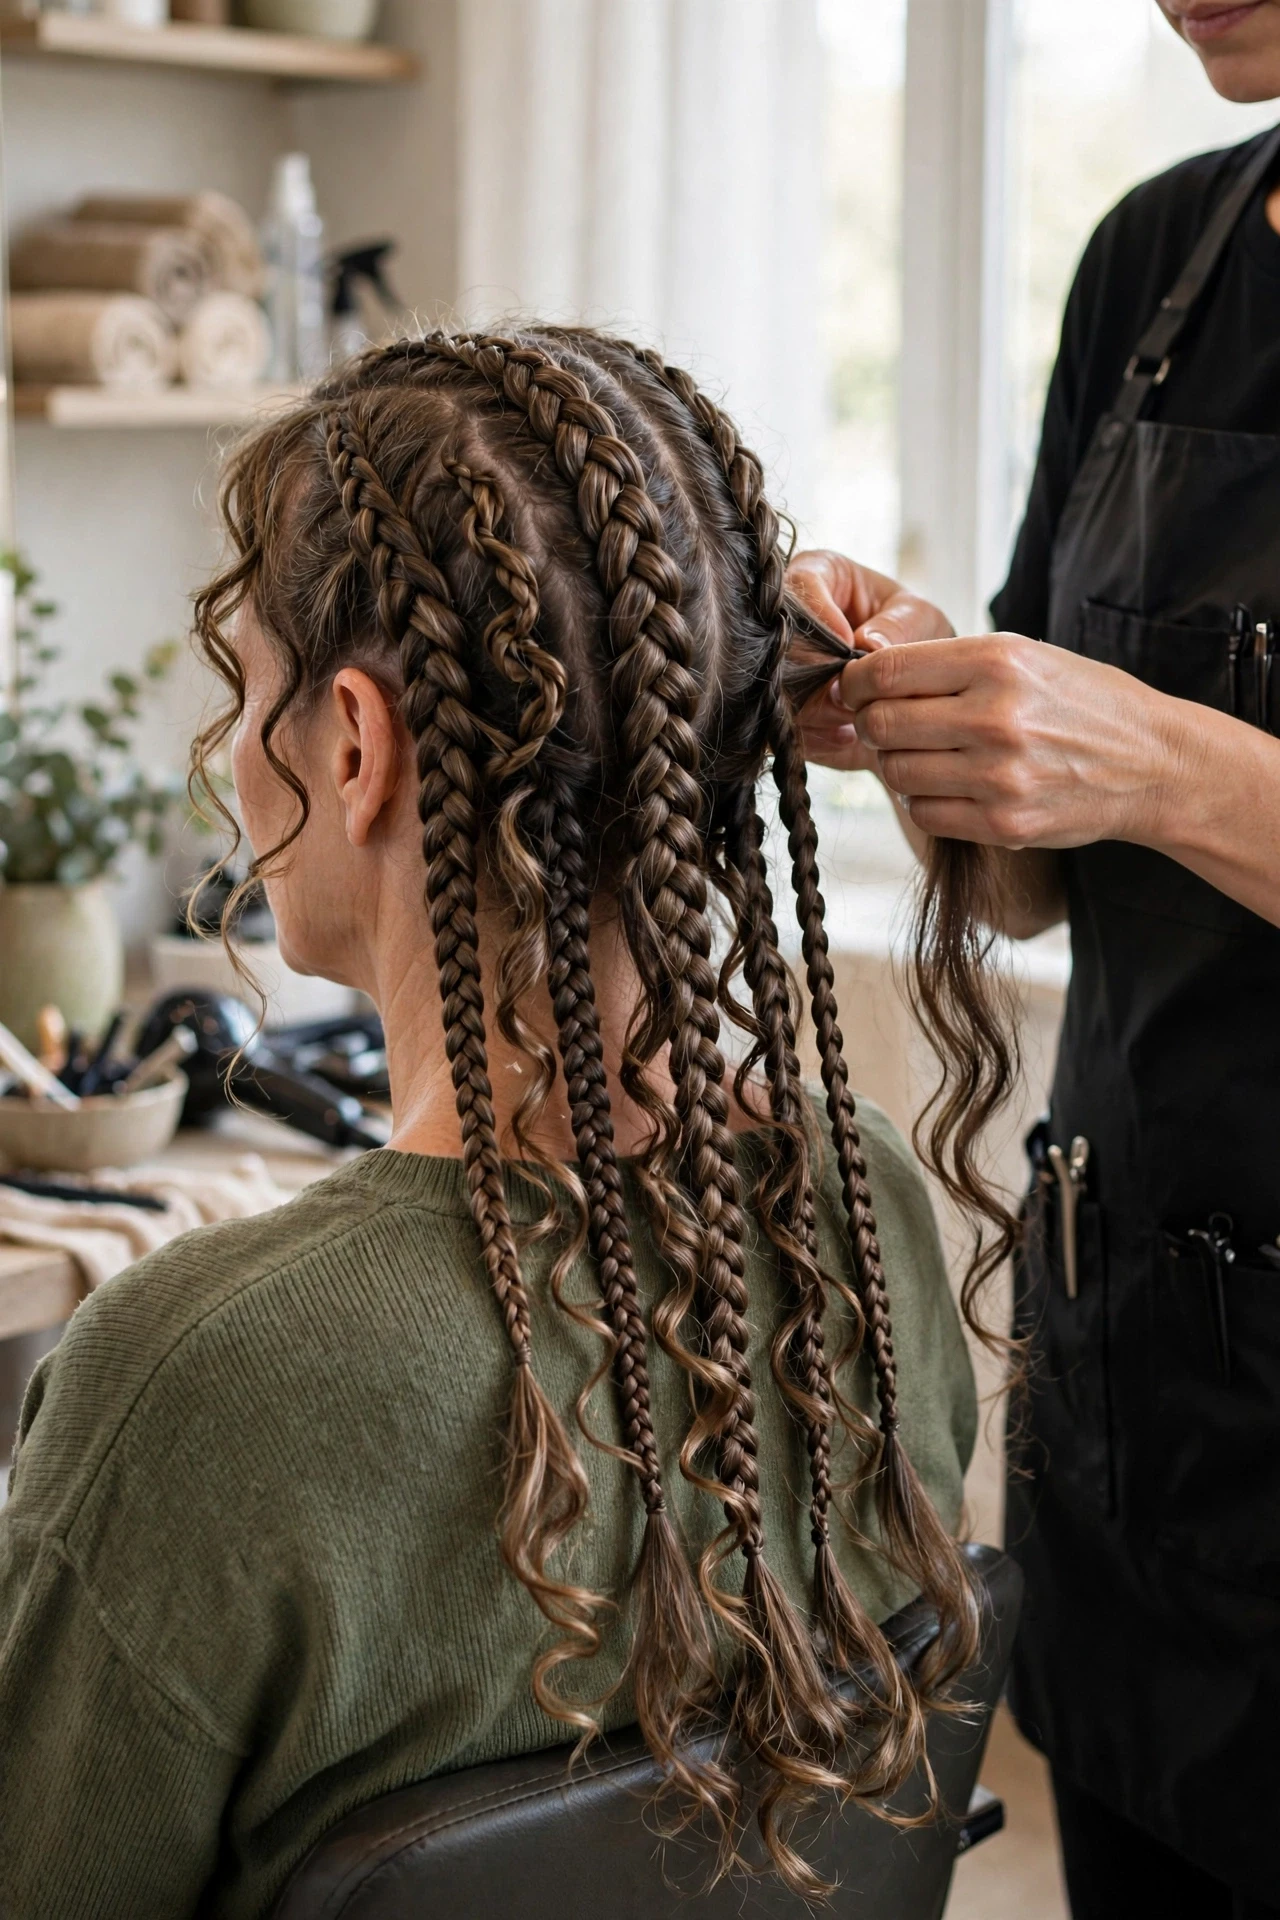
Work row by row across the back, keeping your section sizes as consistent as you can. It helps to braid in the same direction each time and to check your progress in a mirror after every few braids. If one braid looks thicker than its neighbors, undo it now rather than hoping it will blend later. Once the back is done, browse boho braids hairstyles later for styling ideas.
Braid the Sides
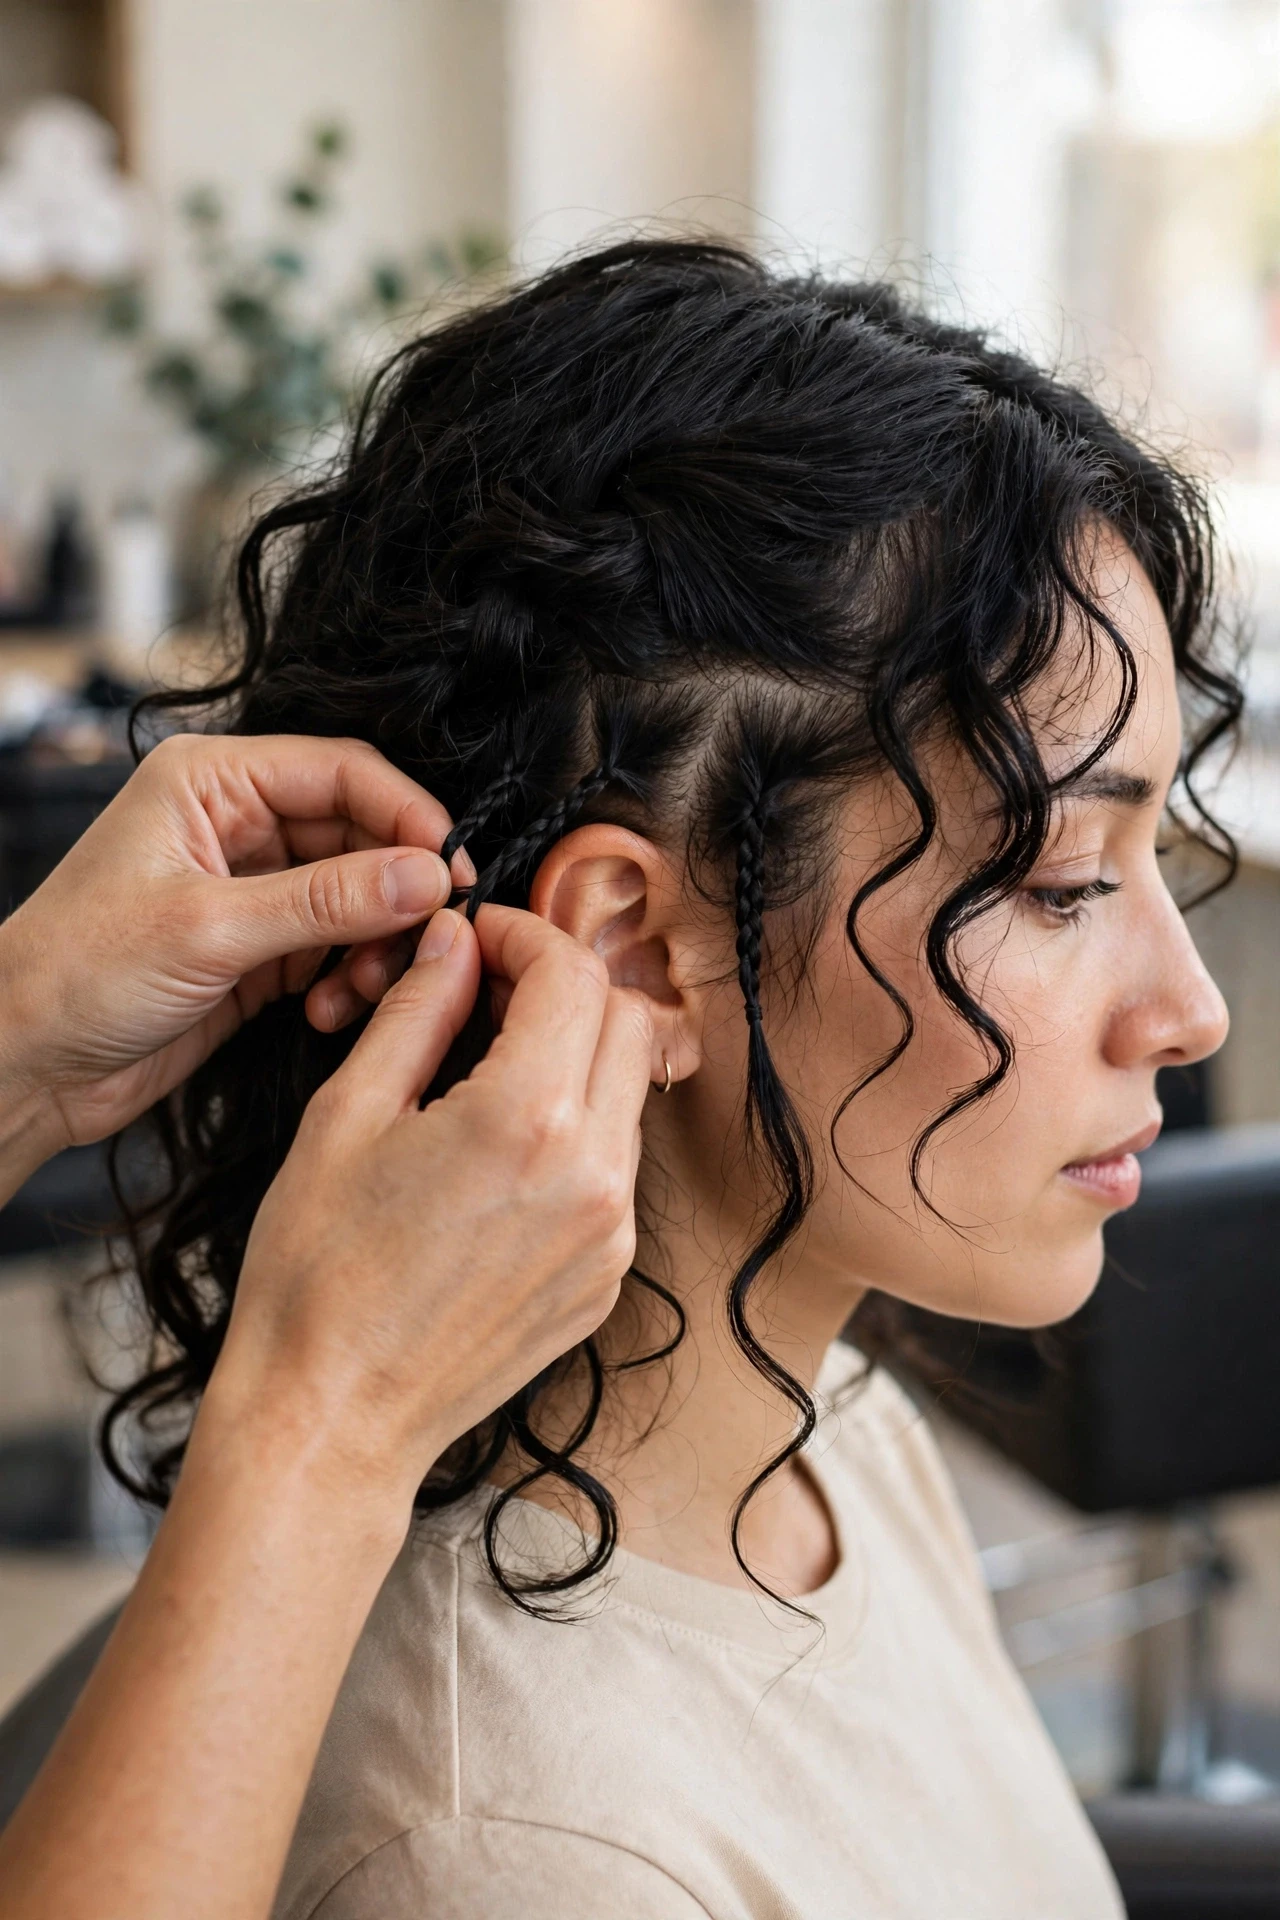
Move to the sides, starting just behind each ear and working forward toward the face. Side braids frame your face, so take a little extra care with your parts here and keep the tension comfortable. Leave a few curly pieces near the front, because those soft strands are what make the style feel light and romantic. If your arms get tired, rest for a few minutes. Fresh hands make neater braids, and the sides will thank you for the break.
Blend the Curls
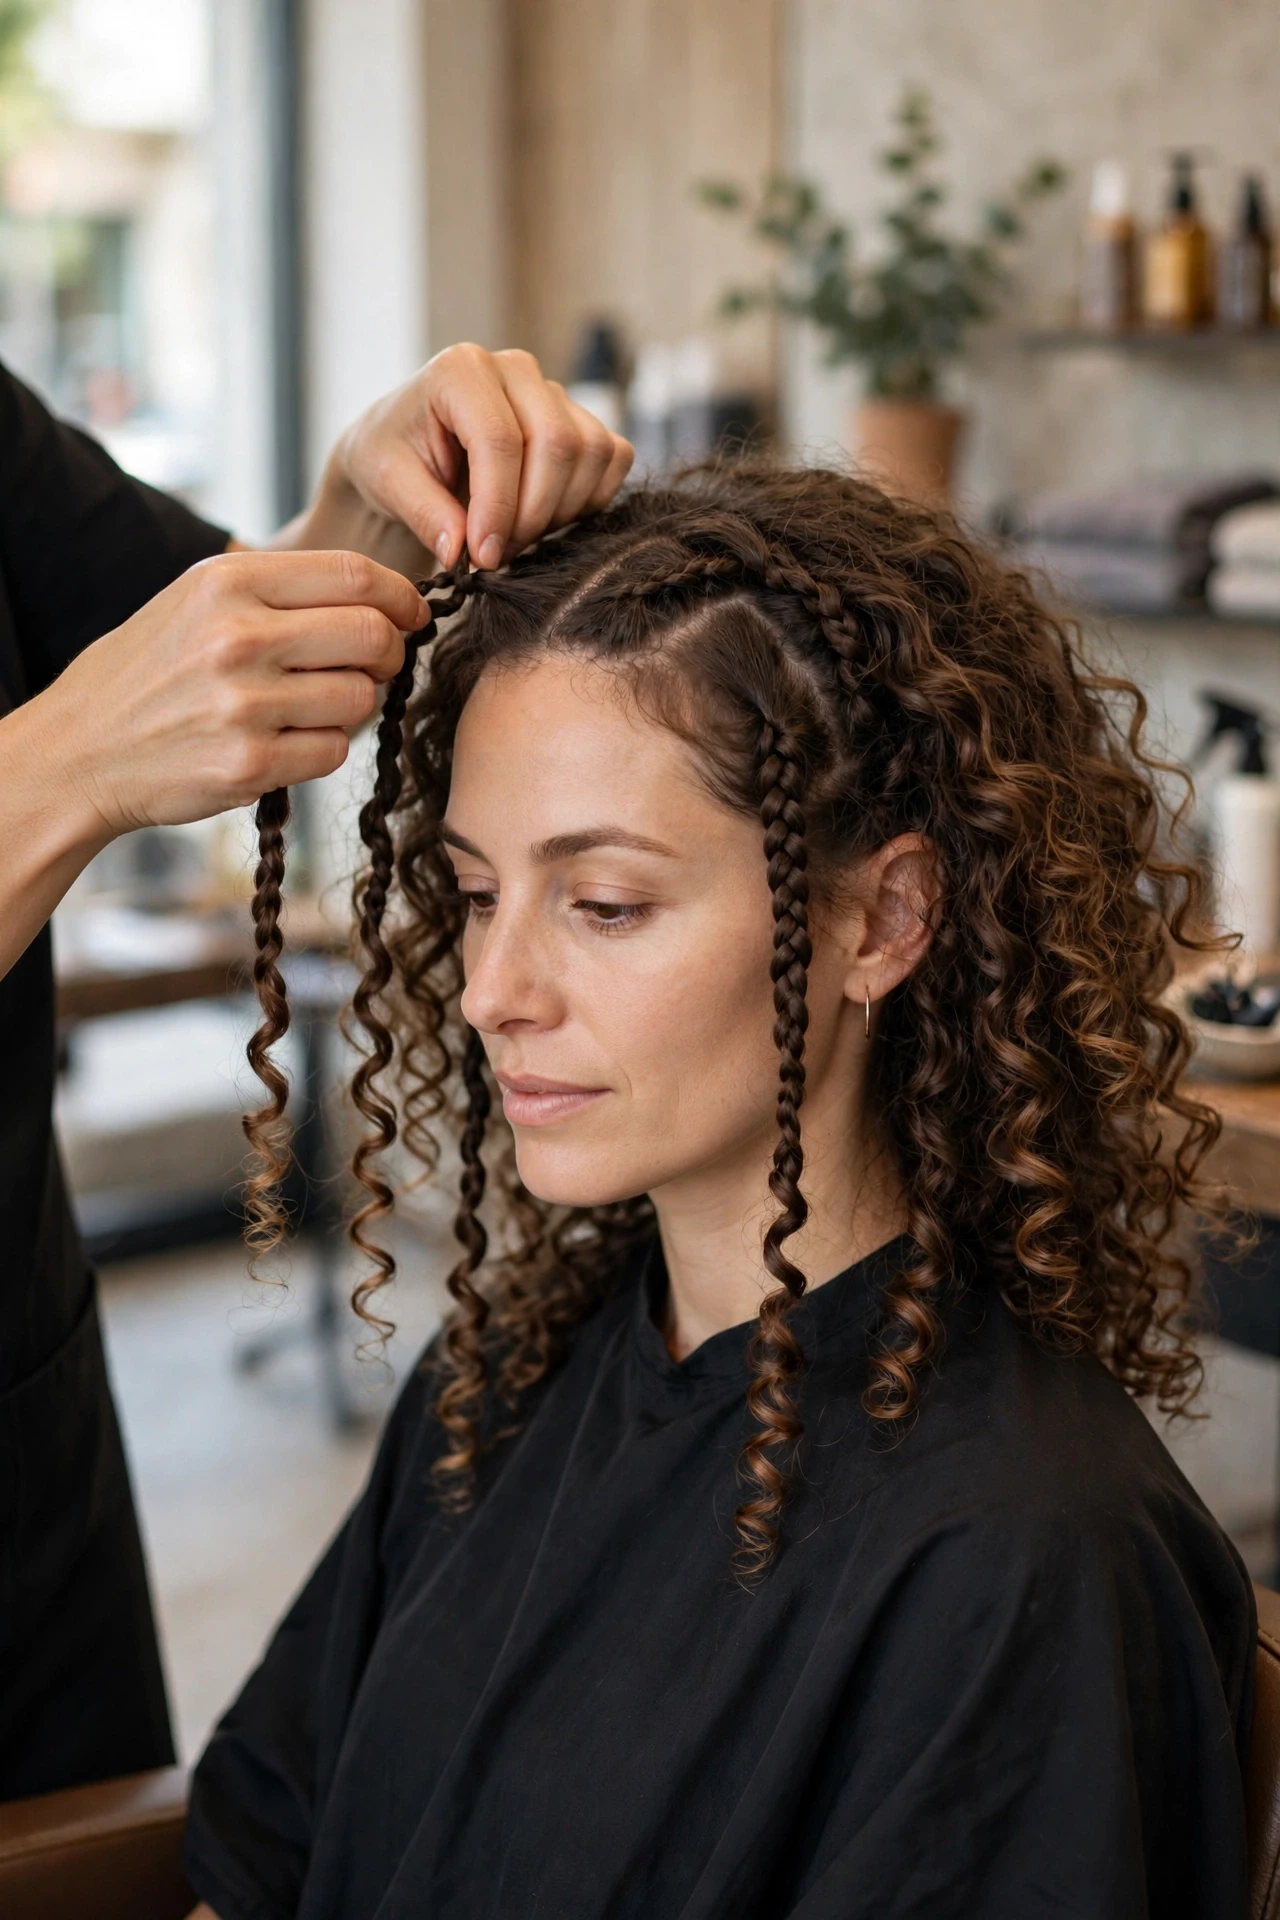
Once every braid is in, gently pull the curly pieces apart with your fingers to create fullness. Do not brush them out, because brushing can turn soft curls into frizz. Instead, separate each curl into two or three smaller curls, then let them fall naturally around the braids. Shake your head lightly and check the shape from the side and back. A few uneven curls are fine. In fact, that mixed texture is exactly what gives boho braids their relaxed, lived-in charm.
Trim Flyaways

Hold your scissors flat against each braid and snip only the tiny hairs sticking straight out, not the curls themselves. Work in good light and trim a little at a time, stepping back often to check the overall shape. It is tempting to chase every flyaway, but a few soft wisps keep the style looking natural. Focus on the most noticeable ones around the hairline and the ends, then put the scissors down. Your braids should look tidy now, without losing their boho softness.
Seal the Ends in Hot Water

Dip the ends of your braids into a bowl of hot, but not boiling, water for about ten seconds, then press them gently with a towel. The heat helps the braiding hair grip and stops the ends from unraveling. Work in small groups of braids, and keep the water away from your scalp and neck. Let the ends cool completely before you touch them again. This simple step makes a big difference to how long your style lasts and how neat the ends look.
Apply Mousse for Hold

Squeeze a generous amount of mousse into your palms, then smooth it lightly over the braids and scrunch it into the curly pieces. The mousse adds hold and definition without making the hair crunchy, as long as you do not overload it. Let the mousse dry naturally if you can, or use a diffuser on a low setting for a few minutes. Once dry, shake the curls out gently. Your braids should feel secure, soft, and ready to style.
Style Your Baby Hairs

Use a small amount of edge control and a soft brush to shape the fine hairs along your hairline into gentle swoops. Work with short, light strokes, and build the shape slowly rather than pressing hard in one go. A little product goes a long way, and you can always add more if a section springs back. Keep the swoops soft and wispy to match the braids, then let them set for a minute. This finishing touch frames your face beautifully.
Try a Half-Up Style
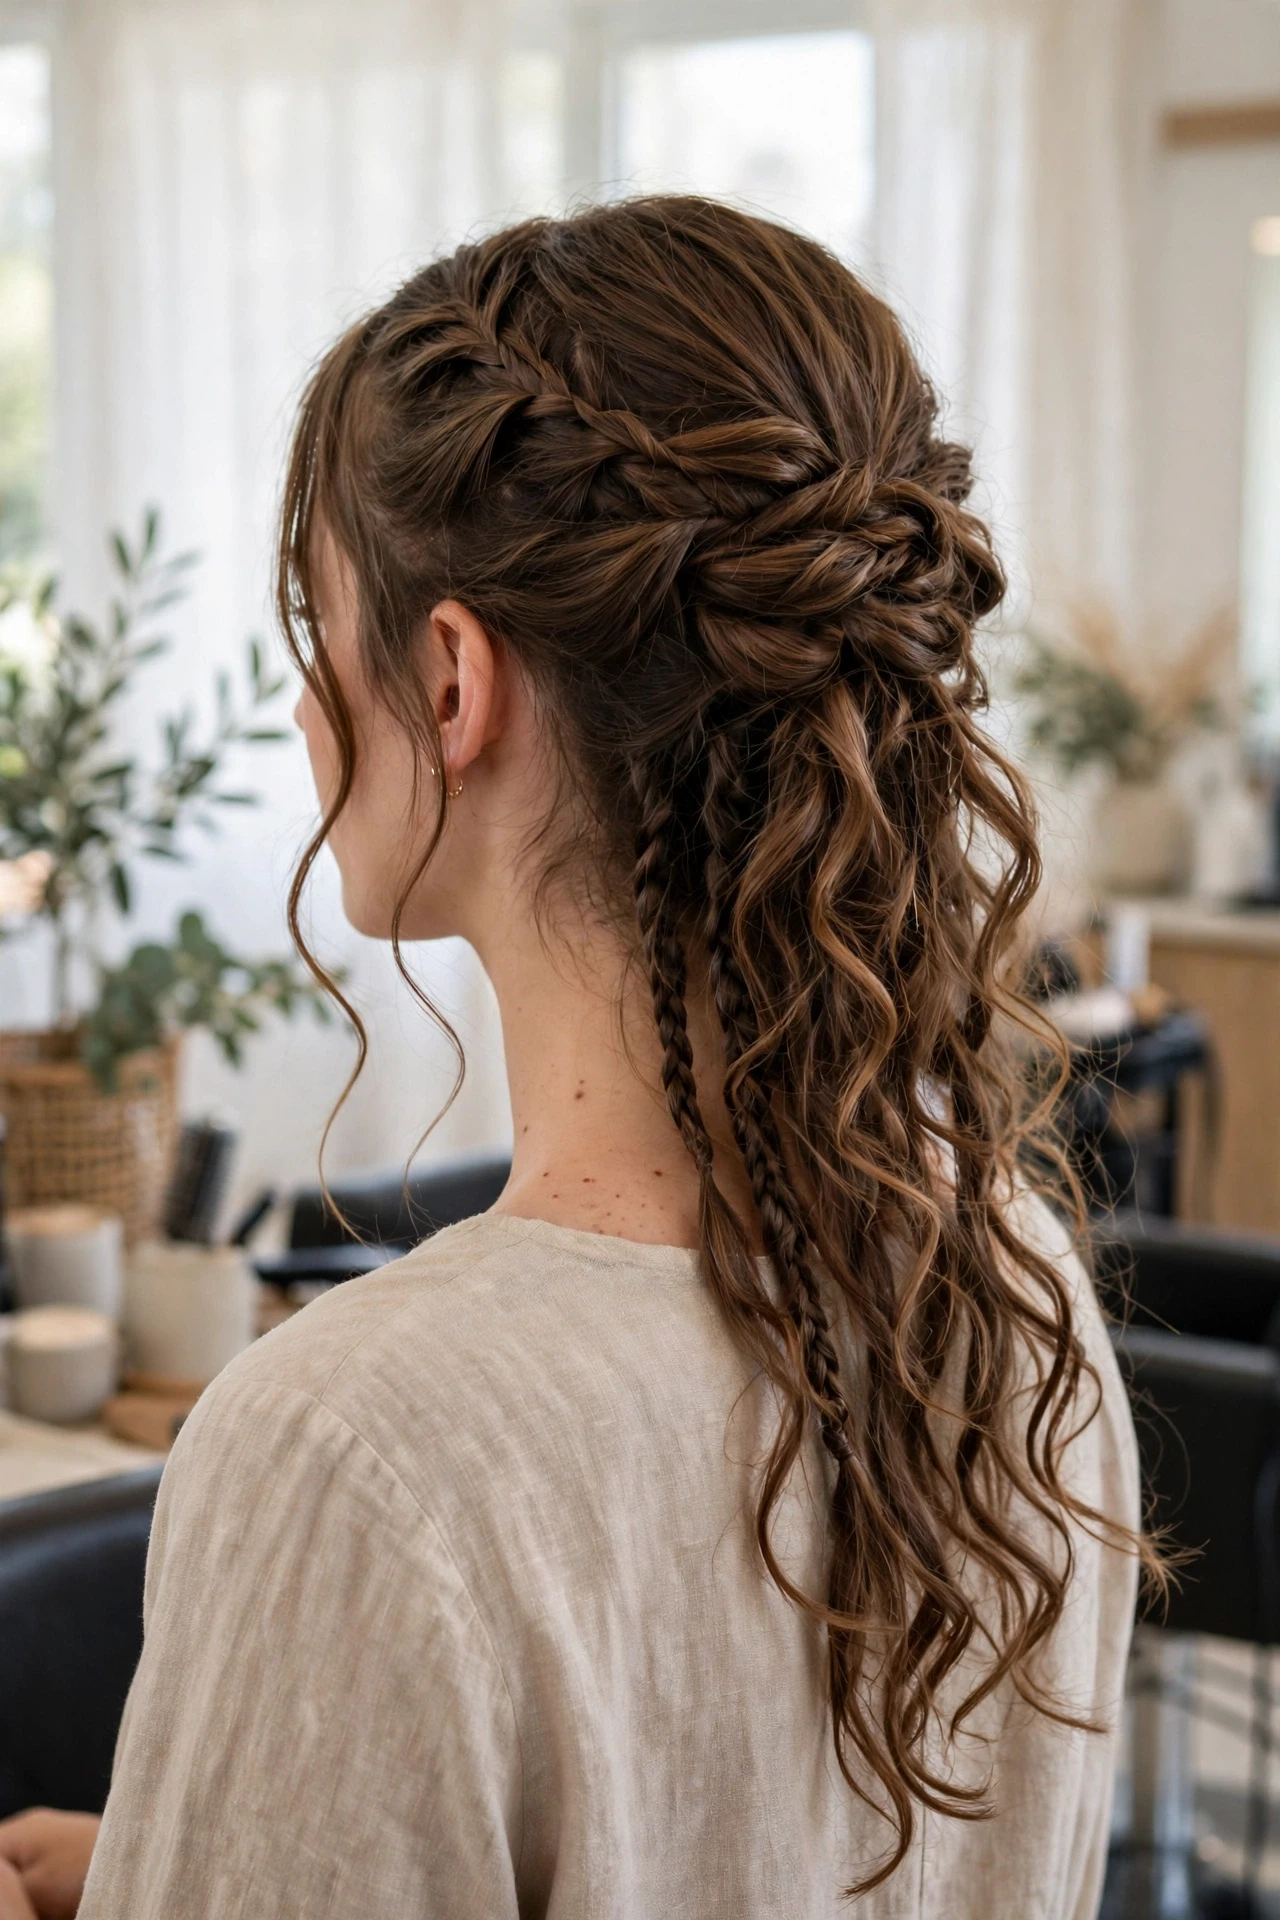
Gather the top half of your braids, from temple to temple, and secure them loosely at the crown with a scrunchie or a large clip. Let the remaining braids fall free down your back, and pull a few curly pieces forward around your face. This half-up look is quick, flattering, and perfect for days when you want your hair off your face but still down. For more ways to wear the finished style, explore these boho braids hairstyles and pick a favorite for tomorrow.
Try a High Ponytail
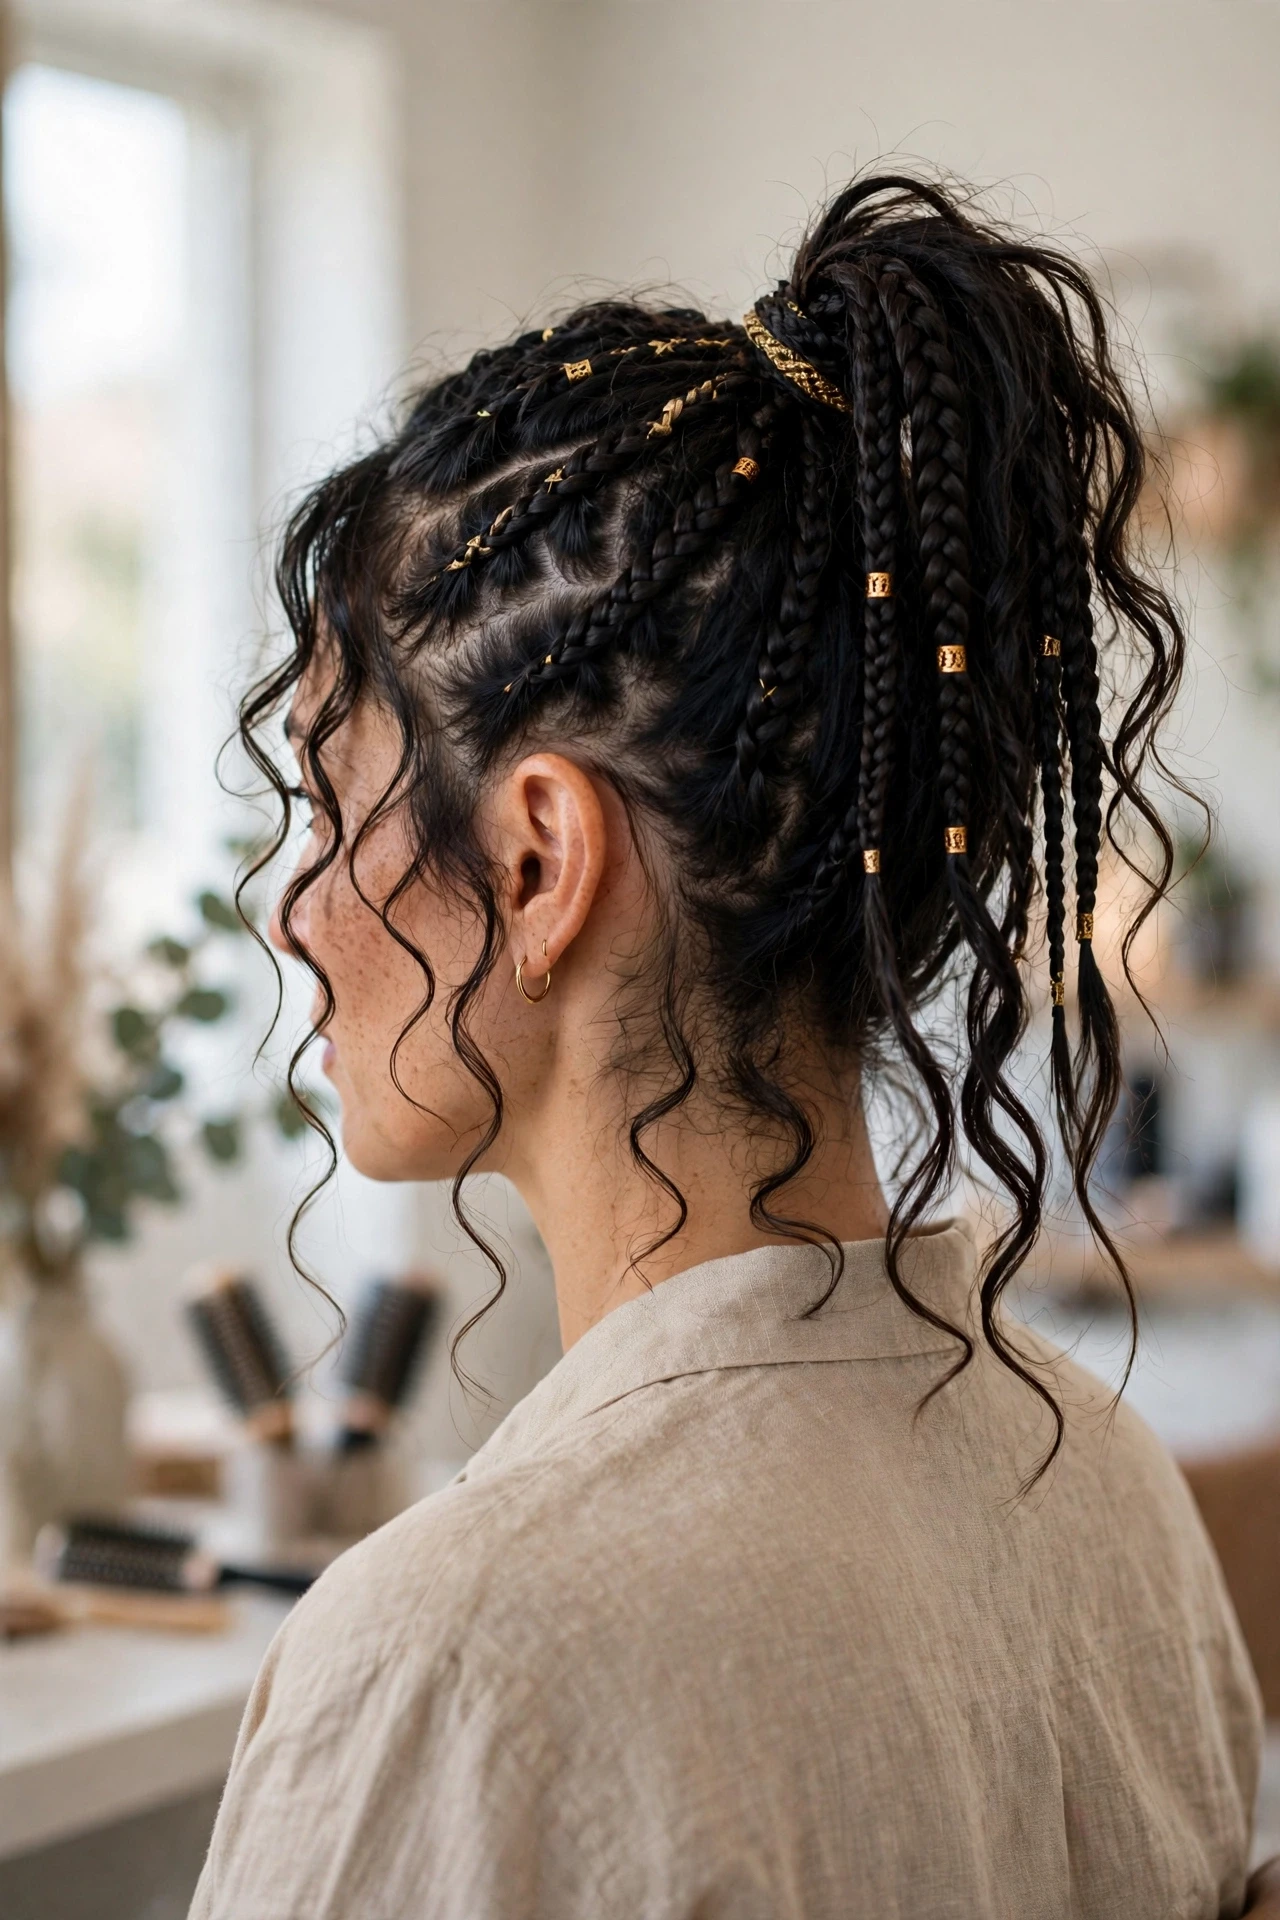
Sweep all of your braids up to the crown and hold them with a strong elastic, then wrap one braid around the base to hide the band. Let the curly pieces spill out of the ponytail for movement, and loosen two face-framing braids at the front for softness. A high ponytail shows off the braid pattern beautifully and keeps you cool on warm days. If the ponytail feels heavy, split it into two sections and secure them together for extra support.
Try a Bun
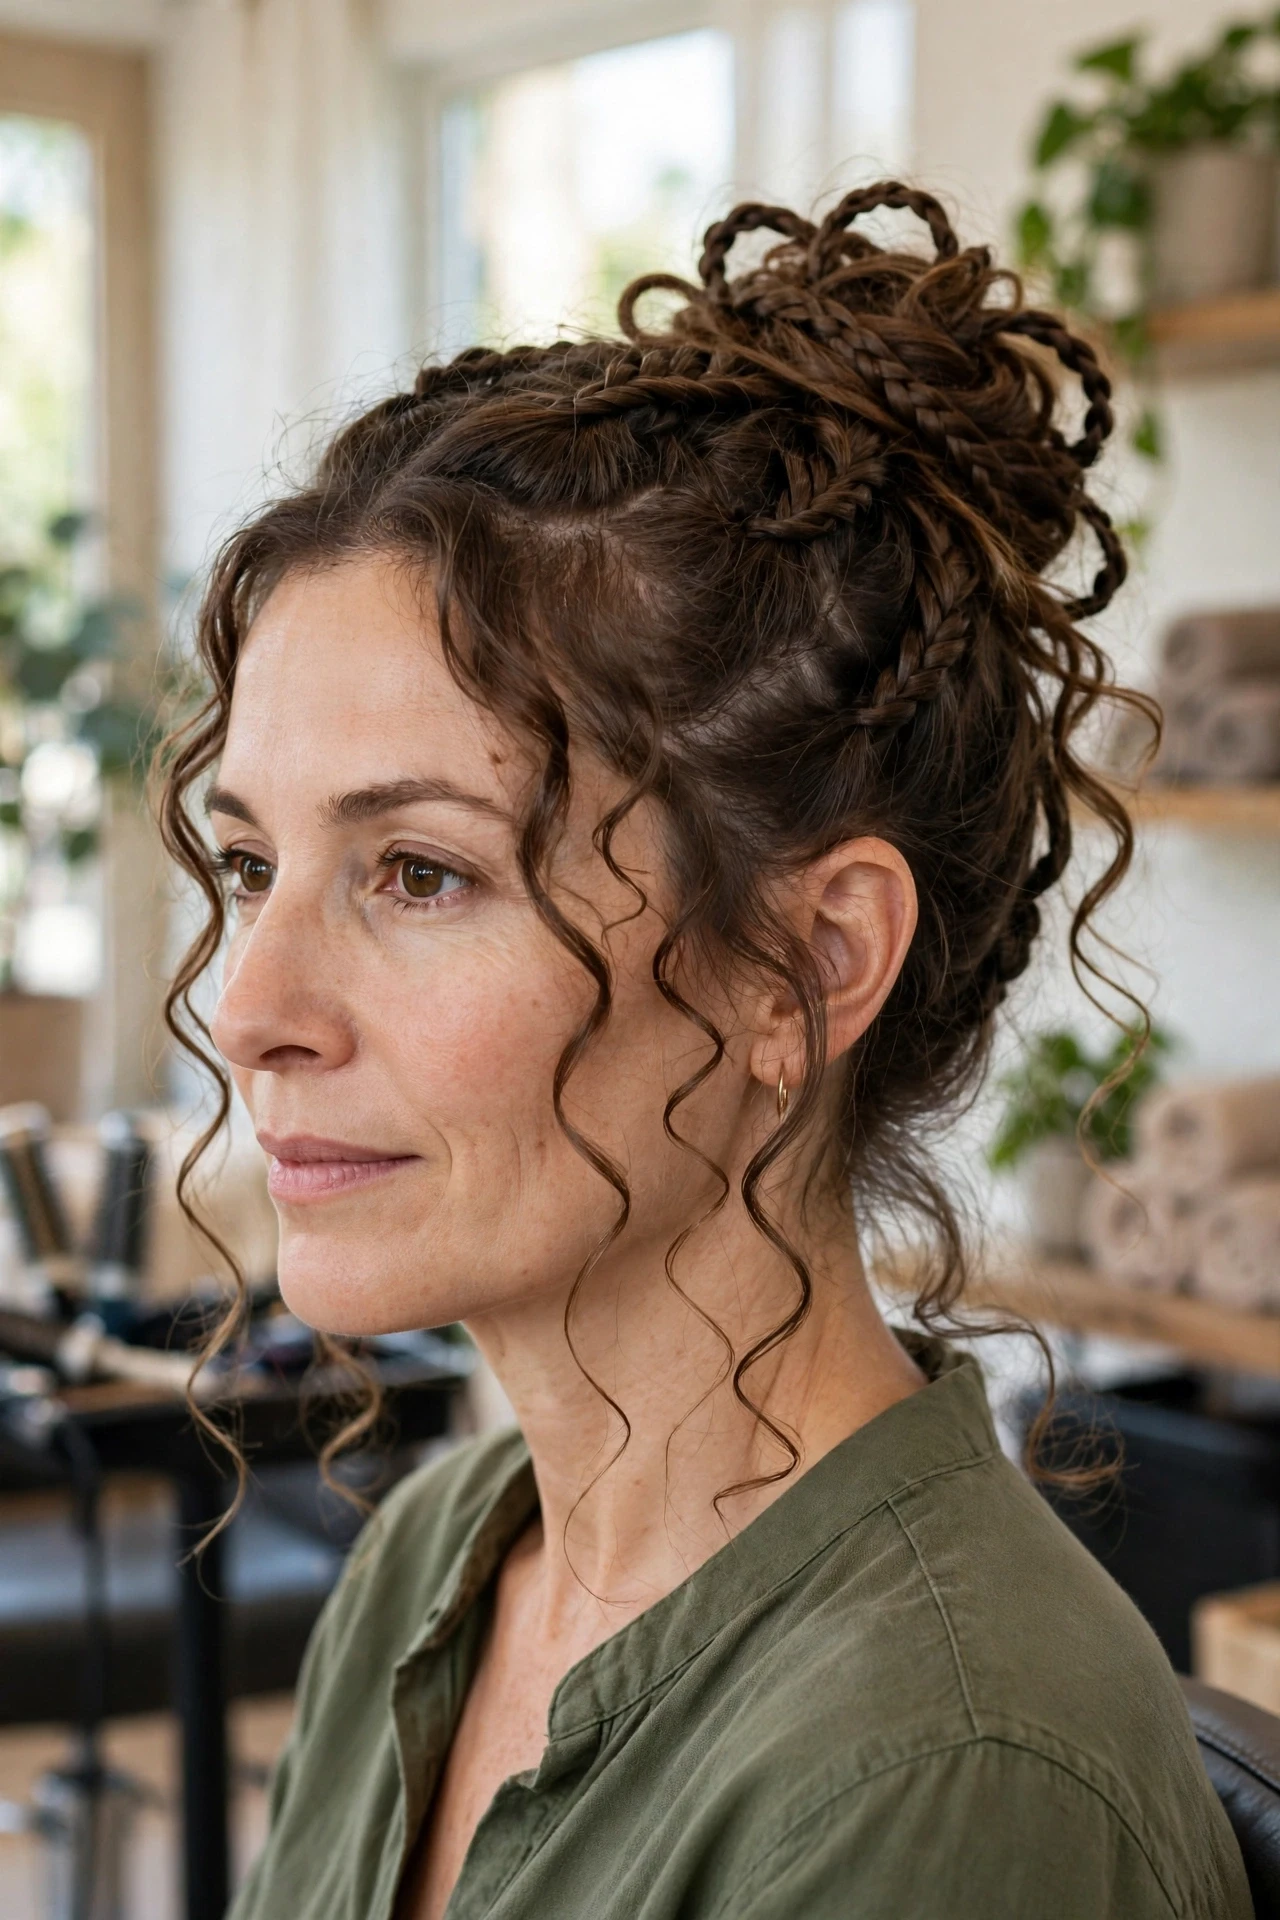
Twist your braids gently into a low or high bun, tucking the ends in and pinning them where they feel secure. Do not twist too tightly, because a relaxed bun looks more boho and puts less strain on your edges. Pull out a few curls around the bun and near your face to keep the look soft. This is a lovely option for work, workouts, or elegant evenings. You can also learn more about Maya Bennett here.
Refresh Your Braids
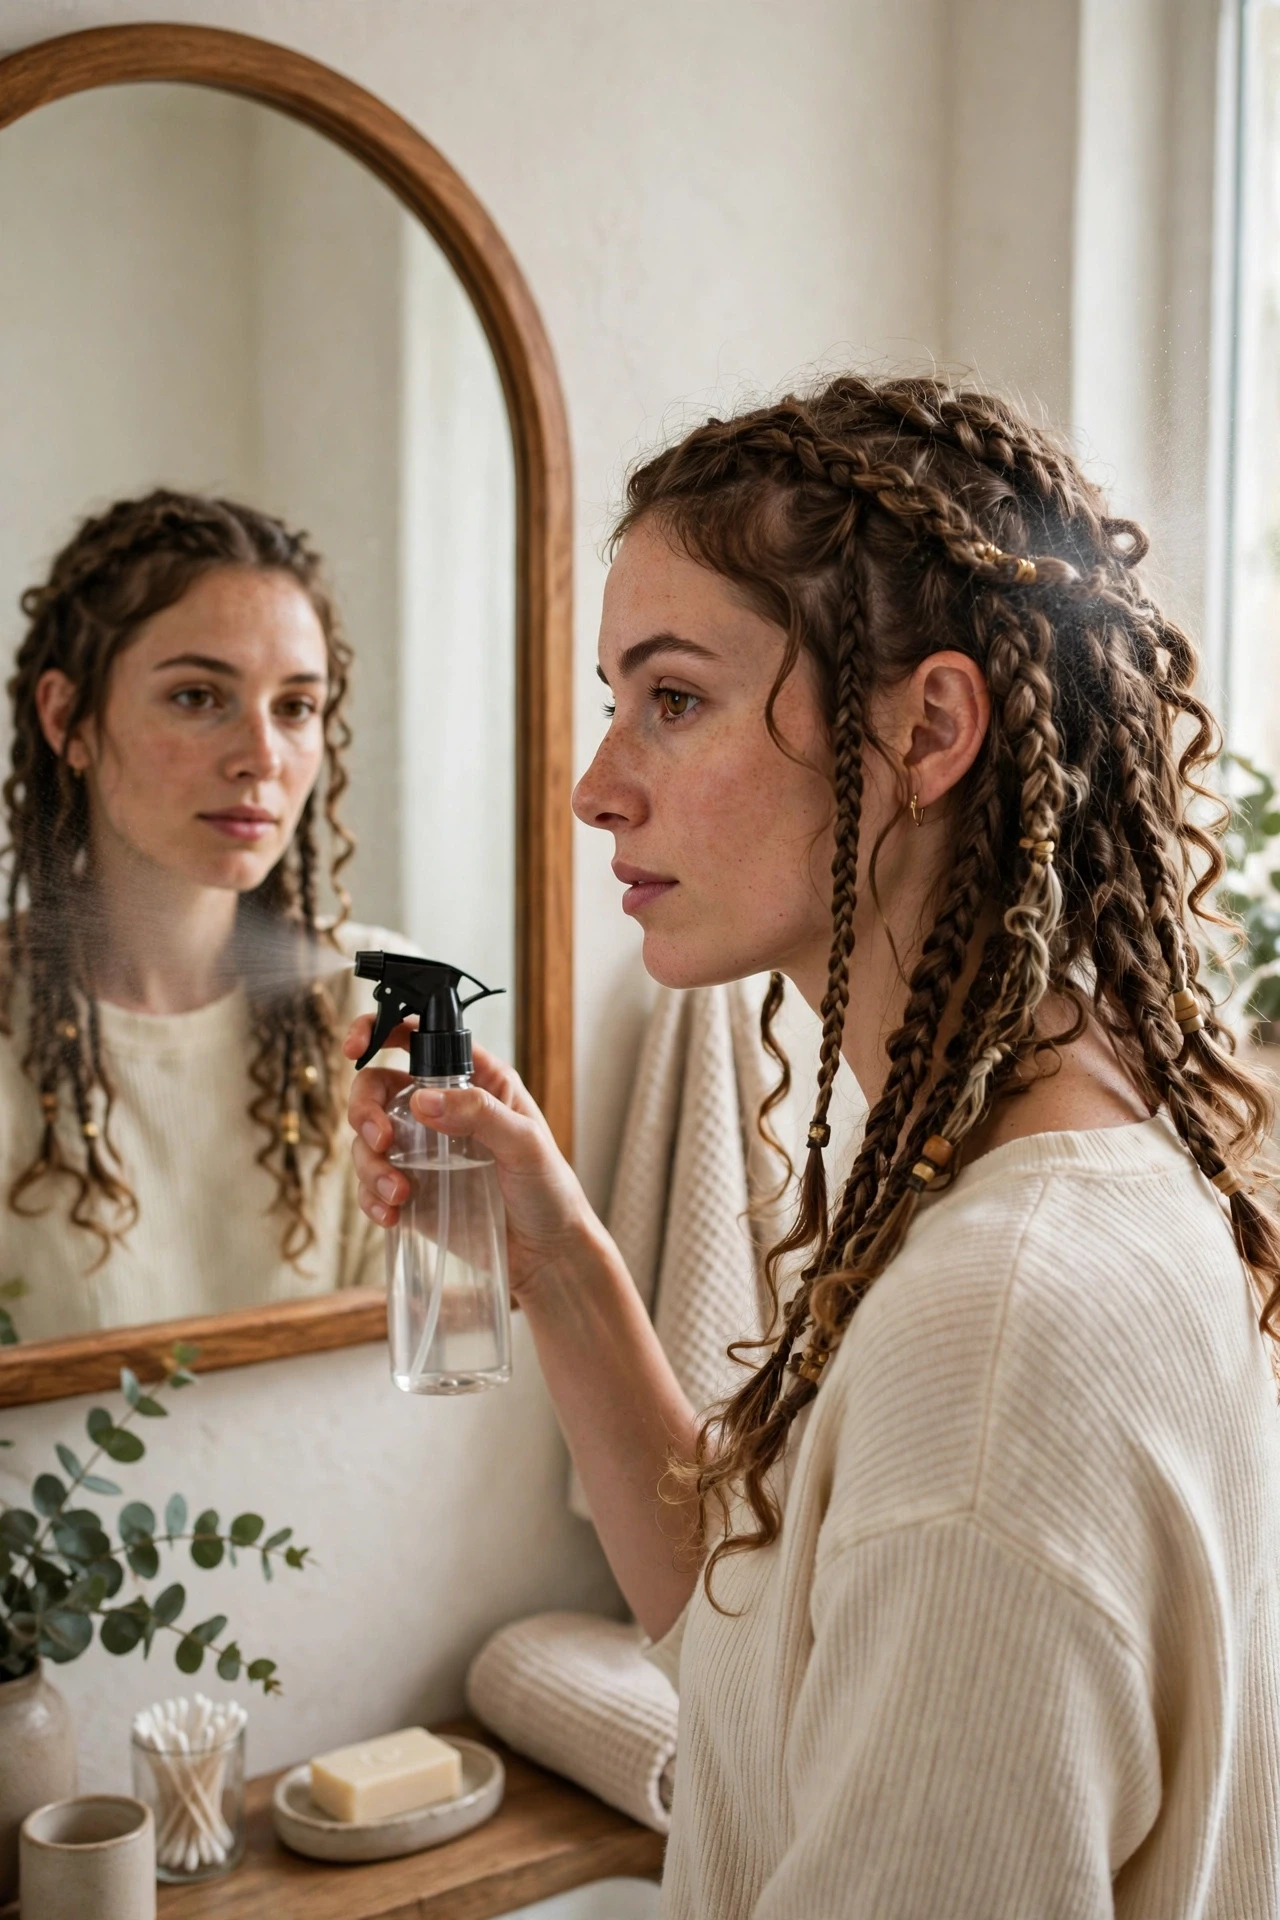
After a week or so, your braids may need a little refresh. Smooth the roots with a little mousse, tidy any flyaways, and re-curl the boho pieces with a light spray of water and leave-in conditioner. Scrunch the curls gently and let them dry, then separate them again with your fingers. You do not need to redo the whole style to make it look fresh. A ten-minute refresh can bring back the shape, shine, and bounce you loved on day one.
Night Care for Boho Braids
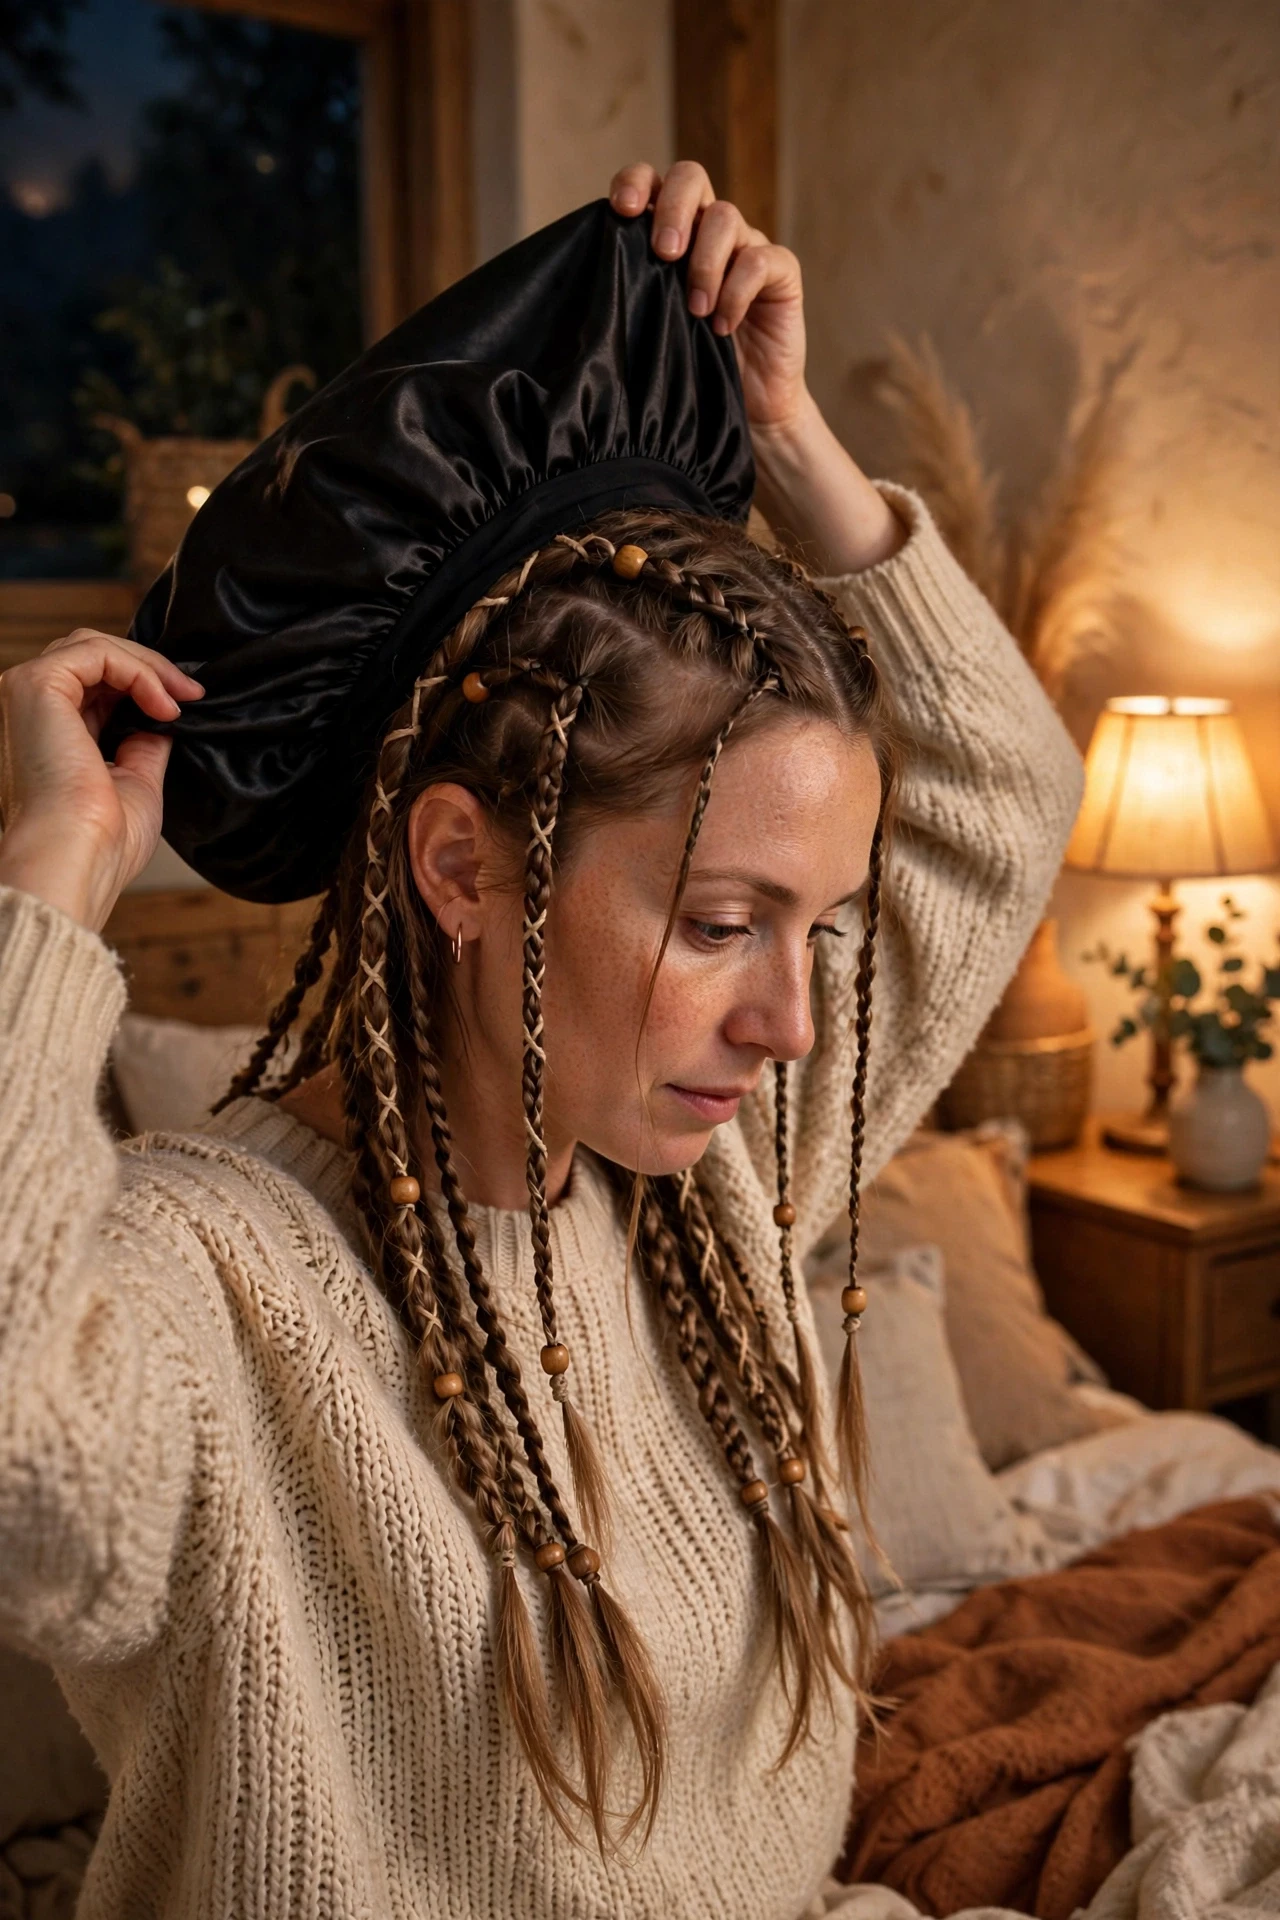
At night, gather your braids loosely and wrap them in a silk or satin scarf, or sleep on a satin pillowcase if a scarf slips off. This simple habit cuts down on frizz and stops the curly pieces from tangling while you sleep. In the morning, shake the braids out gently and smooth the edges if needed. Good night care is the secret to a style that still looks good in week three. Keep tension low next time, as in knotless braids.
Remove Your Boho Braids Safely
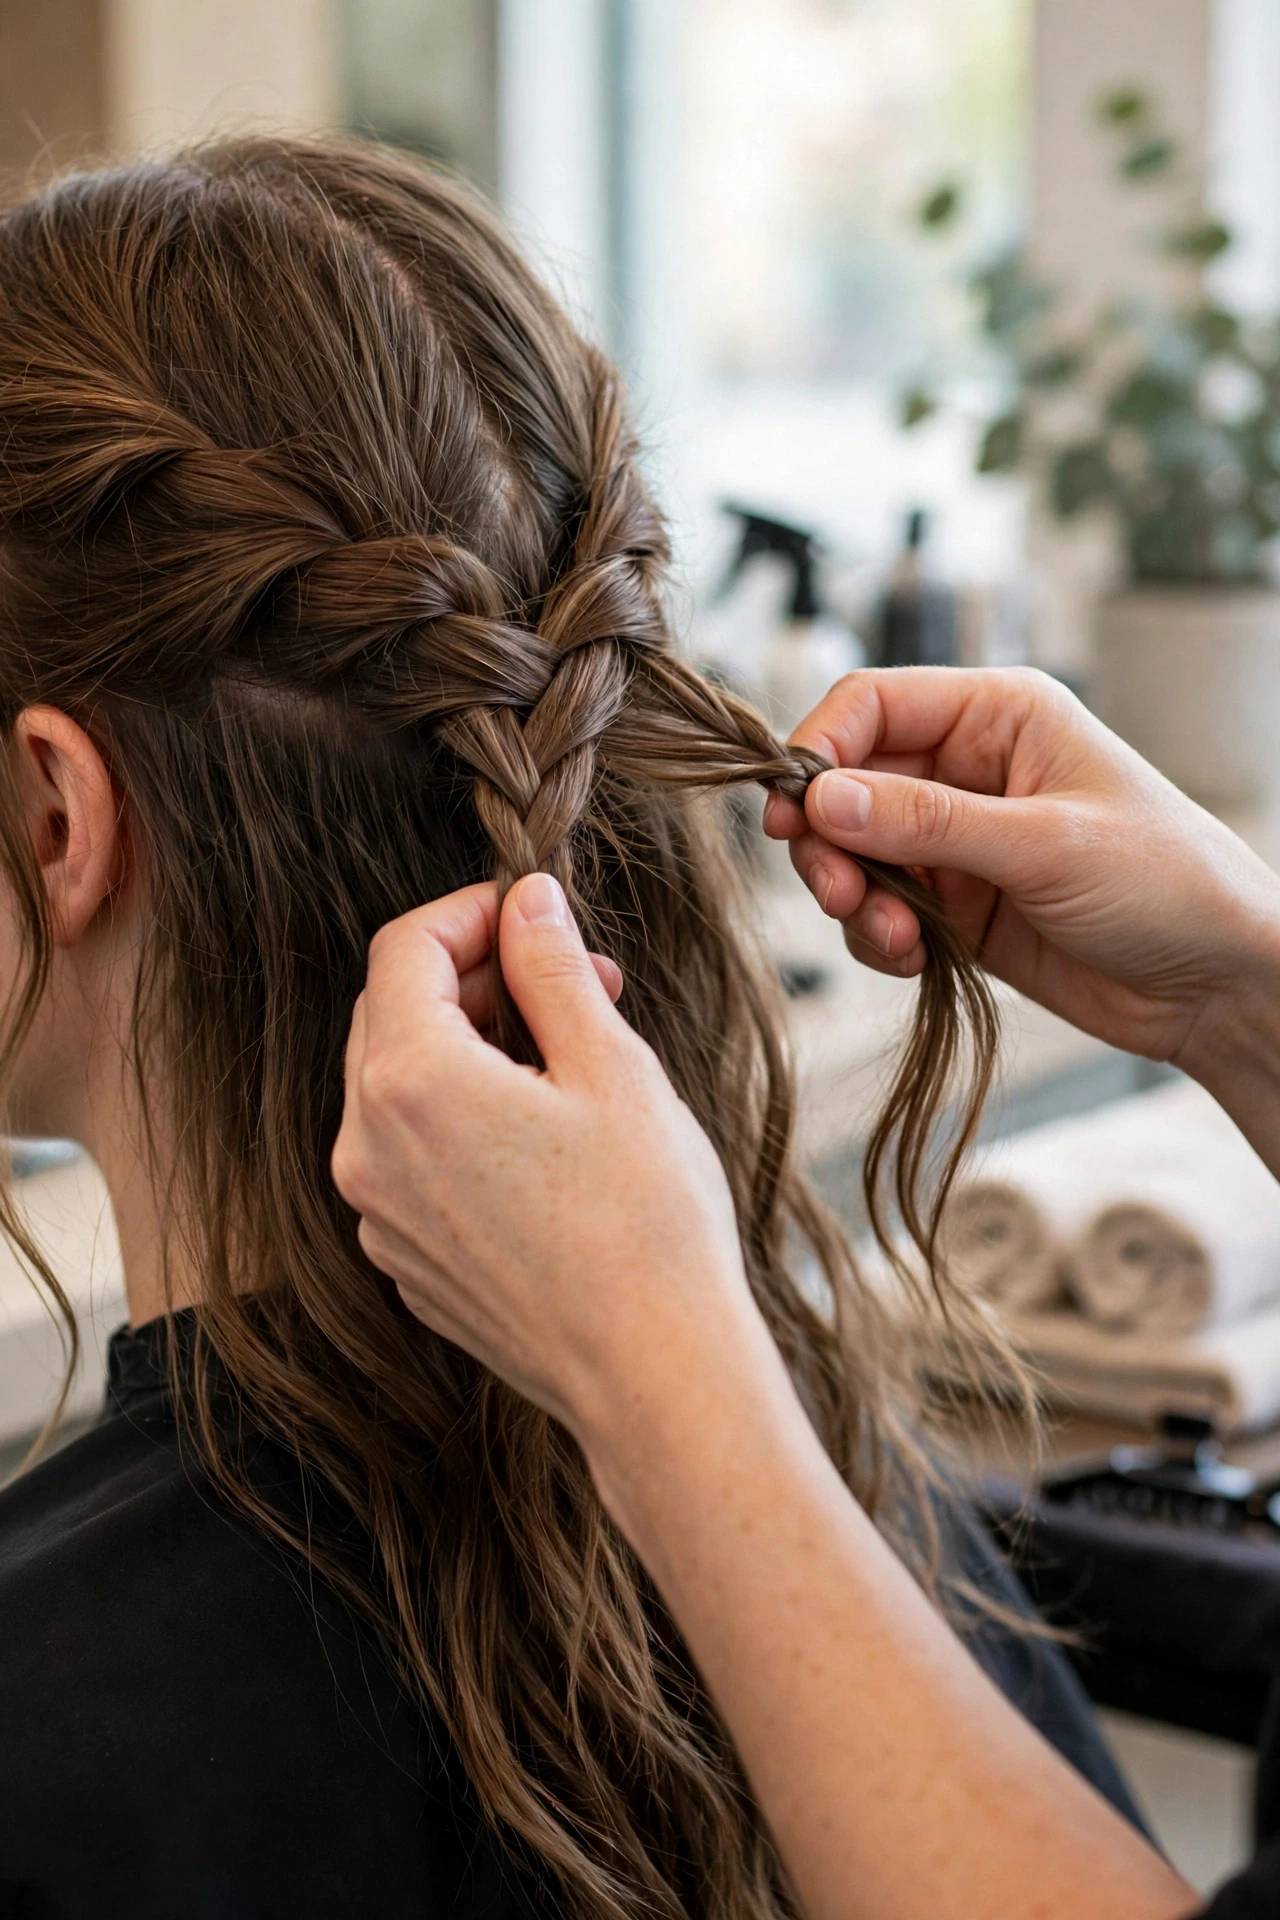
When it is time to take your braids out, cut the braids below your natural hair, never above it, so you do not accidentally snip your own ends. Unravel each braid slowly, working from the ends upward, and detangle gently as you go. Wash and deep condition your hair afterward, and give it a few days of rest before your next protective style. Safe removal protects all the growth you have kept safe under the braids, and it leaves your hair ready for whatever style comes next.
Shop the Look
As an Amazon Associate I earn from qualifying purchases.
Braiding Hair Extensions
Choose a soft, pre-stretched pack in your shade for smoother, faster braiding.
Rat Tail Comb
A fine tail comb keeps parts crisp and helps you section hair without snagging.
Braid Styling Mousse
Light mousse defines curls and adds hold without stiffness or buildup.
How long does it take to do boho braids at home?
For most people, a full set takes four to eight hours, depending on braid size and experience. Smaller braids take longer, while larger braids go faster. Split the work over two days if your arms get tired.
How long do boho braids last?
With good night care, boho braids usually last three to six weeks. Refresh the curls weekly, keep your scalp clean, and watch for frizz or looseness at the roots. Take them out sooner if your scalp feels sore or your natural hair needs a rest.
Can I wash my hair while wearing boho braids?
Yes, you can wash gently with diluted shampoo, focusing on the scalp and letting the suds run down the braids. Rinse well and let the braids dry fully. Avoid heavy conditioners on the braids themselves, as they can cause buildup.
What hair should I use for the curly boho pieces?
Choose loose wave or water wave braiding hair that matches your desired curl pattern. Softer, lighter curls blend best and tangle less than very tight curls. Buy one or two packs to start, and add more only if you want extra fullness.
Are boho braids suitable for thin or fine hair?
Yes, if you keep sections small and tension gentle. Knotless starts and lighter packs help reduce pulling, and leaving curls free adds volume without extra weight. If your scalp feels tight at any point, loosen that braid right away.
How do I stop my boho braids from frizzing?
Wrap your braids in silk or satin at night, avoid brushing the curls, and refresh them with water and a little leave-in conditioner. Mousse helps seal the style after washing, and trimming stray flyaways keeps the shape neat between washes.
Final Thoughts
Now you know how to do boho braids step by step, from careful prep to soft, curly styling and safe removal. The first set may take a while, and that is completely normal. Each time you braid, your hands get faster, your parts get neater, and your confidence grows.
Start with a size you feel comfortable with, keep your tension gentle, and enjoy the process rather than rushing to the finish. Your boho braids should feel like you, relaxed, pretty, and easy to wear. Try a half-up style one day and a bun the next.